
Introduction to Yaki Onigiri
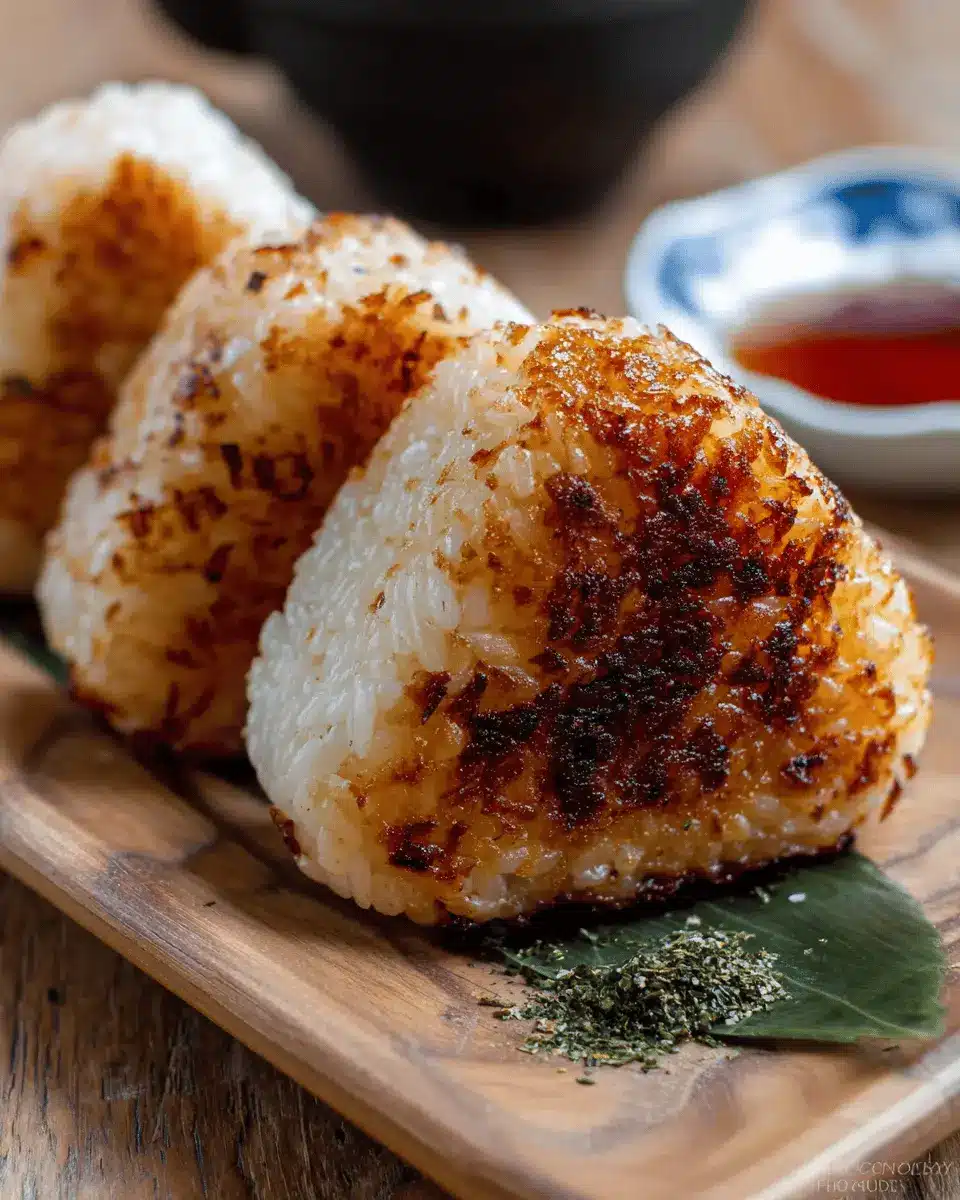
Yaki Onigiri, or grilled rice balls, are a delightful and versatile dish you can easily create at home. If you’re looking for a comforting meal or a delicious snack that strikes the perfect balance between crispy on the outside and soft on the inside, then yaki onigiri is your answer. They’re not only tasty but also incredibly customizable!
Why Yaki Onigiri is the Perfect Homemade Meal
One of the best things about yaki onigiri is their simplicity. With just a few ingredients—short-grain rice, soy sauce, and your choice of fillings—you can whip up these delightful rice balls in about 30 minutes. They make for an excellent weeknight dinner or a great portable lunch for your busy workdays.
-
Customizable Fillings: Whether you prefer soft fillings like chicken ham or richer options like turkey bacon, yaki onigiri can cater to any palate. Incorporating different fillings gives you endless possibilities for flavor combinations.
-
Meal Prep Friendly: Yaki onigiri also freeze well, making them perfect for batch cooking. You can grill a bunch at once, store them in your freezer, and have a quick meal ready whenever you need it.
For further inspiration on the background of this dish, check out Japanese cuisine to fully appreciate the cultural significance of onigiri. Dive into my recipe for yaki onigiri and experience the joy of creating this scrumptious snack!
Ingredients for Yaki Onigiri
Creating mouthwatering yaki onigiri starts with the right ingredients. Let’s break them down so you can assemble your perfect grilled rice balls easily!
Essential Ingredients for Yaki Onigiri
- Uncooked Japanese short-grain white rice: This rice is key for that sticky texture. You’ll need about 2¼ cups (or 540 ml) to make 9 rice balls.
- Water: The rice requires 2½ cups of water to cook properly.
- Soy sauce: Adding 3 tablespoons to the rice seasoning brings a rich umami flavor.
- Sugar: A touch of 1 tablespoon balances the saltiness of the soy.
- Toasted sesame oil: Just 1 tablespoon enhances the overall taste, giving it that nutty aroma.
- Kosher salt: A pinch (¼ tsp) helps season the rice perfectly.
Optional Add-Ins for Customization
Feeling adventurous? Here are some tasty optional ingredients to customize your yaki onigiri:
- Chopped green onions: For a fresh, vibrant crunch.
- Cooked turkey bacon or chicken ham: Adds a savory twist.
- Sesame seeds: Toss some in for added texture and flavor.
- Pickled plum (umeboshi): For an unexpected tartness.
You can find more tips on rice choices and seasoning in guides from Japanese Cooking 101. Enjoy the process of crafting your yaki onigiri!
Step-by-step Preparation of Yaki Onigiri
Creating the perfect Yaki Onigiri is not only about having the right ingredients but also about following the process with care. By taking it step by step, you’ll soon enjoy these tasty grilled rice balls at home!
Rinse and soak the rice
Start with the star of the show: Japanese short-grain rice. Rinse your rice thoroughly under cold water until the water runs clear, which typically takes a few minutes. This step is crucial as it helps remove excess starch and keeps your rice from becoming gummy. After rinsing, soak the rice in water for 20–30 minutes. This soaking time allows the grains to absorb moisture, ensuring a delightful, chewy texture when cooked.
Cook the rice
Next, it’s time to cook your rice. You can use a rice cooker for convenience or a pot on the stove if you prefer more hands-on cooking. If you’re using a rice cooker, add 2¼ cups of the soaked rice along with 2½ cups of water. Start the cooker and let it work its magic! If using a pot, bring the water to a boil, then simmer for about 15 minutes with the lid on. Once the rice is cooked and the water has been absorbed, let it rest with the lid on for an additional 10 minutes to firm up.
Prepare the rice seasoning
To give your Yaki Onigiri that savory kick, it's all about the seasoning. In a small bowl, mix together 3 tablespoons of soy sauce, 1 tablespoon of sugar, 1 tablespoon of toasted sesame oil, and ¼ teaspoon of kosher salt. This blend will not only season the rice but also create a delicious glaze as you grill the rice balls. Make sure you taste it – a little tweak can elevate your rice’s flavor profile!
Shape the onigiri
Once your rice is cool enough to handle, dampen your hands with a little water to prevent sticking. Take a handful of the seasoned rice (about ⅓ cup), and mold it into a triangle or ball shape. Applying gentle pressure helps ensure that the rice holds its form. This step is where you can get creative; feel free to add any fillings you like, such as turkey bacon or chicken ham, to the center of your onigiri before forming it.
Grill the onigiri to perfection
Now comes the fun part—grilling! Heat a non-stick skillet over medium heat. Brush a bit of the glaze mixture onto each shaped onigiri and place them in the skillet. Grill each side for about 3-4 minutes or until they turn golden brown and crispy. As the heat caramelizes the glaze, you'll be treated to a delightful aroma. Flip gently to avoid breaking the onigiri. Enjoy how the outside gets crispy while the inside remains tender!
Making Yaki Onigiri at home not only allows you to enjoy a delicious snack but also brings warmth and tradition to your kitchen. Enjoy experimenting with flavors, and remember, these onigiri are perfect for lunch boxes or as a tasty snack! For more detailed tips and tricks, consider checking out resources like Just One Cookbook for all things Japanese cuisine.
Variations on Yaki Onigiri
Yaki Onigiri with Turkey Bacon
For a delicious twist on the classic yaki onigiri, try incorporating turkey bacon for a smoky flavor and a satisfying crunch. Simply cook the turkey bacon until crispy, chop it into bits, and mix it into your seasoned rice before shaping the rice balls. Grill them as usual, and enjoy the savory contrast between the tender rice and crispy bacon.
Yaki Onigiri with Chicken Ham
If you're looking for a lighter option, yaki onigiri with chicken ham is a fantastic choice. Dice the ham and mix it with your rice along with soy sauce for added umami. The result is a hearty yet flavorful rice ball that brings a touch of comfort food in every bite.
Yaki Onigiri with Different Fillings
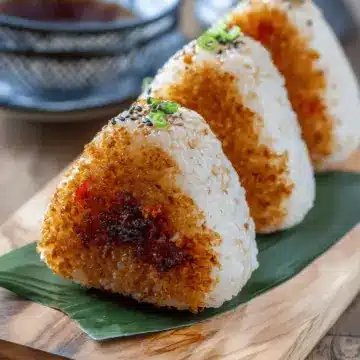
The beauty of yaki onigiri lies in its versatility! Consider exploring various fillings like roasted vegetables, pickled plum (umeboshi), or even some smoked salmon for a gourmet touch. The possibilities are endless, and experimenting with different flavors can lead to delightful discoveries. Want to learn more about ingredient combinations? Check out this guide on rice ball fillings.
Cooking Tips and Notes for Yaki Onigiri
Achieving the perfect crispiness
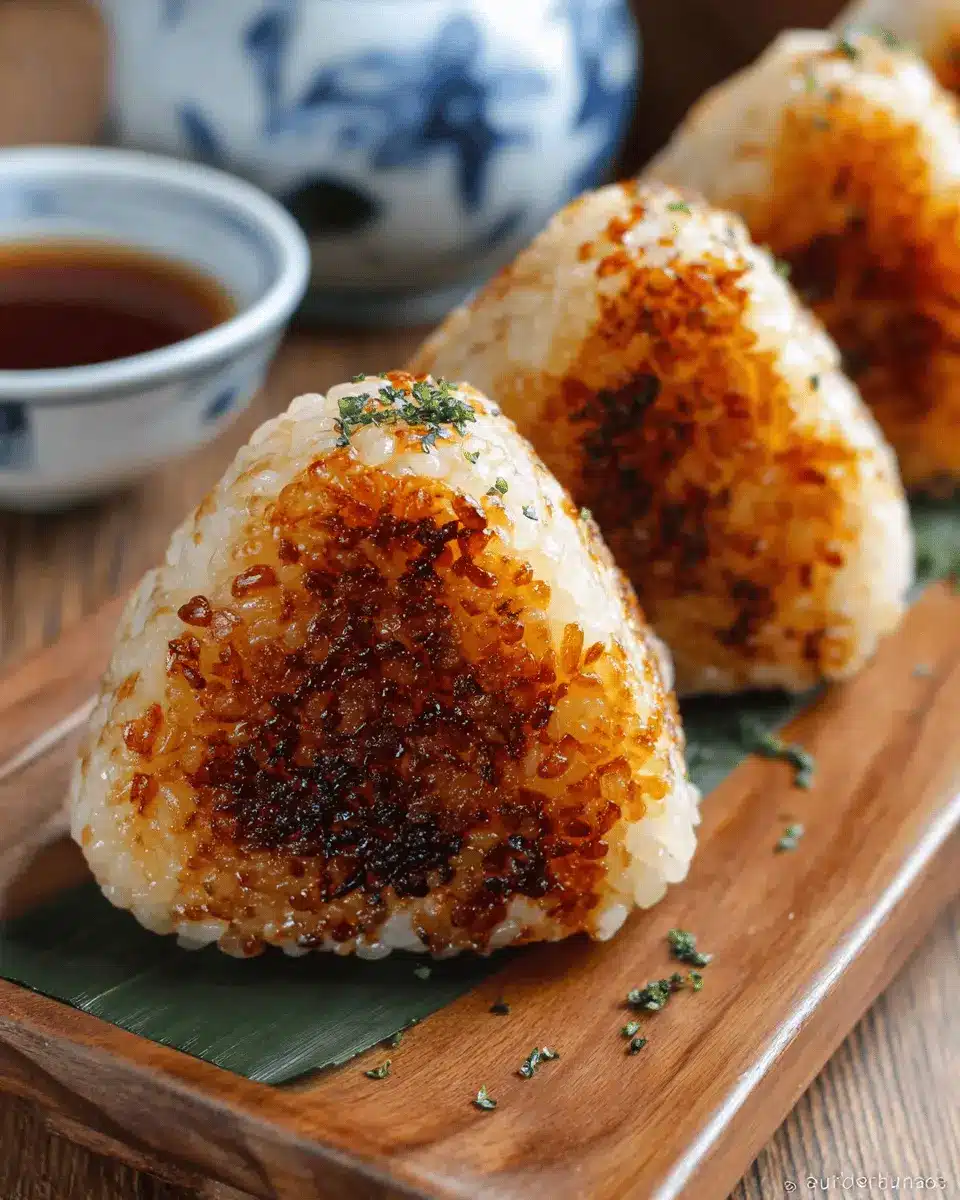
To achieve that delightful crispy exterior on your yaki onigiri, ensure you're using medium heat when grilling. This allows the rice balls to brown evenly without burning. A light coating of the soy glaze during the last minute of grilling can elevate the flavor and enhance crispiness. Remember, patience is key; give them time to develop that golden crust!
How to prevent sticking
Prevent your yaki onigiri from sticking to the pan by using a non-stick skillet and lightly oiling it with sesame oil. Additionally, wetting your hands before shaping the rice helps prevent the grains from clumping to your fingers. For extra security, you can place a piece of parchment paper in the pan for effortless flipping and easy cleanup.
Serving Suggestions for Yaki Onigiri
Pairing Ideas and Accompaniments
Yaki Onigiri shines when paired with a variety of tasty sides and toppings. Consider serving it alongside:
- Miso soup for a comforting contrast.
- Pickled vegetables, like takuan, to add a tangy crunch.
- Sliced cucumbers with sesame dressing for a refreshing touch.
- Grilled chicken ham or turkey bacon for an added protein boost.
These pairings will enhance your Yaki Onigiri experience and create a well-rounded meal.
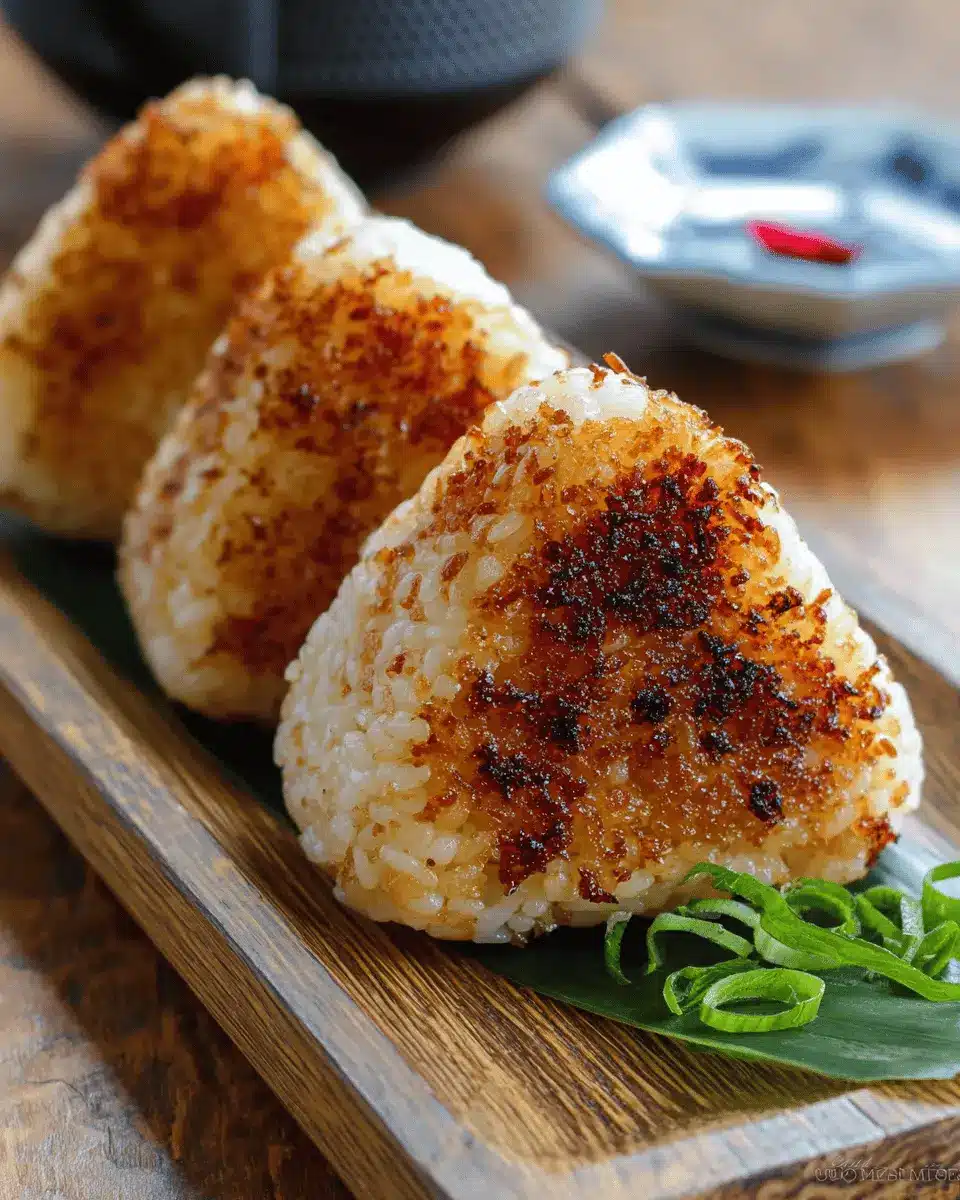
Creative Ways to Present Yaki Onigiri
Presentation can elevate your meal! Arrange your Yaki Onigiri on a beautiful platter, garnished with fresh herbs like shiso or cilantro. Adding colorful dipping sauces can make the dish visually appealing. For a fun twist, use bento boxes to create a delightful lunch that incorporates seasonal fruits and veggies, turning mealtime into a creative dining experience.
Explore more serving inspirations on sites like Just One Cookbook and The Japan Center. If you're feeling adventurous, even consider a Yaki Onigiri bar, where everyone can customize their toppings!
Time Breakdown for Yaki Onigiri
Preparation Time
Preparing your ingredients for yaki onigiri takes about 15 minutes. This includes measuring out your rice and mixing the seasoning, so you can jump right into the fun part of grilling!
Cooking Time
Once your rice is ready and seasoned, the actual cooking time is approximately 15 minutes of grilling. You’ll achieve that perfect golden-brown color and crispy texture in no time.
Total Time
In total, you can expect to spend around 30 minutes from start to finish. Just enough time to whip up a batch of these delicious grilled rice balls, perfect for a quick meal or snack!
Ready to learn more about this delightful recipe? Check out this guide on Japanese rice for tips and tricks!
Nutritional Facts for Yaki Onigiri
When enjoying yaki onigiri, understanding its nutritional profile can enhance your dining experience. Here’s a quick rundown:
- Calories: Approximately 180 calories per rice ball, making it a satisfying treat without overindulging.
- Protein: Each ball delivers about 4 grams of protein, thanks to the rice and seasoning.
- Sodium: With roughly 380 mg of sodium, it's wise to enjoy these grilled delights in moderation if you're monitoring your salt intake.
These yaki onigiri rice balls can be a great energy boost during busy days while also incorporating delightful flavors into your meal. For a deeper dive into rice nutrition, check out Healthline’s article on whole grains.
FAQs about Yaki Onigiri
Can I make yaki onigiri in advance?
Absolutely! Yaki onigiri can be made ahead of time, making them a perfect option for meal prep. After grilling, allow them to cool, then store them in an airtight container in the refrigerator. They’ll stay fresh for up to three days. Just remember to reheat them gently in a pan or microwave before serving to regain some of that crispy texture.
What are good fillings for yaki onigiri?
The beauty of yaki onigiri lies in its versatility! Popular fillings include:
- Teriyaki Chicken
- Tuna Mayo
- Pickled Plums (Umeboshi)
- Salmon Flakes
Opt for steamed vegetables or even Turkey Bacon for a creative twist. Feel free to experiment with your favorites!
Can I freeze yaki onigiri?
Yes, you can freeze your yaki onigiri! Place them in a single layer on a baking sheet until frozen, then transfer them to a freezer bag. For best results, consume them within one to two months. Just remember to reheat them directly from the freezer for a tasty treat!
Conclusion on Yaki Onigiri
Embracing the homemade journey with Yaki Onigiri
Creating your own yaki onigiri is a rewarding experience that combines simplicity and incredible flavor. With just a few ingredients and steps, you can enjoy these delightful grilled rice balls at home. So gather your friends and family, and make mealtime a memorable occasion! Embrace the journey—it’s always tasty!
Yaki Onigiri (Grilled Rice Ball) (Video)
Equipment
- Rice cooker
- Pot
- Instant Pot
- Donabe
Ingredients
For the Steamed Rice
- 2.25 cups uncooked Japanese short-grain white rice
- 2.5 cups water
For the Rice Seasoning
- 3 tablespoon soy sauce
- 1 tablespoon sugar
- 1 tablespoon toasted sesame oil
- 0.25 teaspoon Diamond Crystal kosher salt
For the Glaze
- 1 tablespoon soy sauce
- 1 teaspoon toasted sesame oil
Instructions
Before You Start...
- Soak Japanese short-grain white rice for 20–30 minutes before cooking.
- Rinse 2¼ cups of uncooked rice until water runs clear.
- Cook the rice in a rice cooker, using 2½ cups of water.
- Gather all ingredients after cooking.


Leave a Reply