
Introduction to Crusted Chicken Romano Cutlets
What are Crusted Chicken Romano Cutlets?
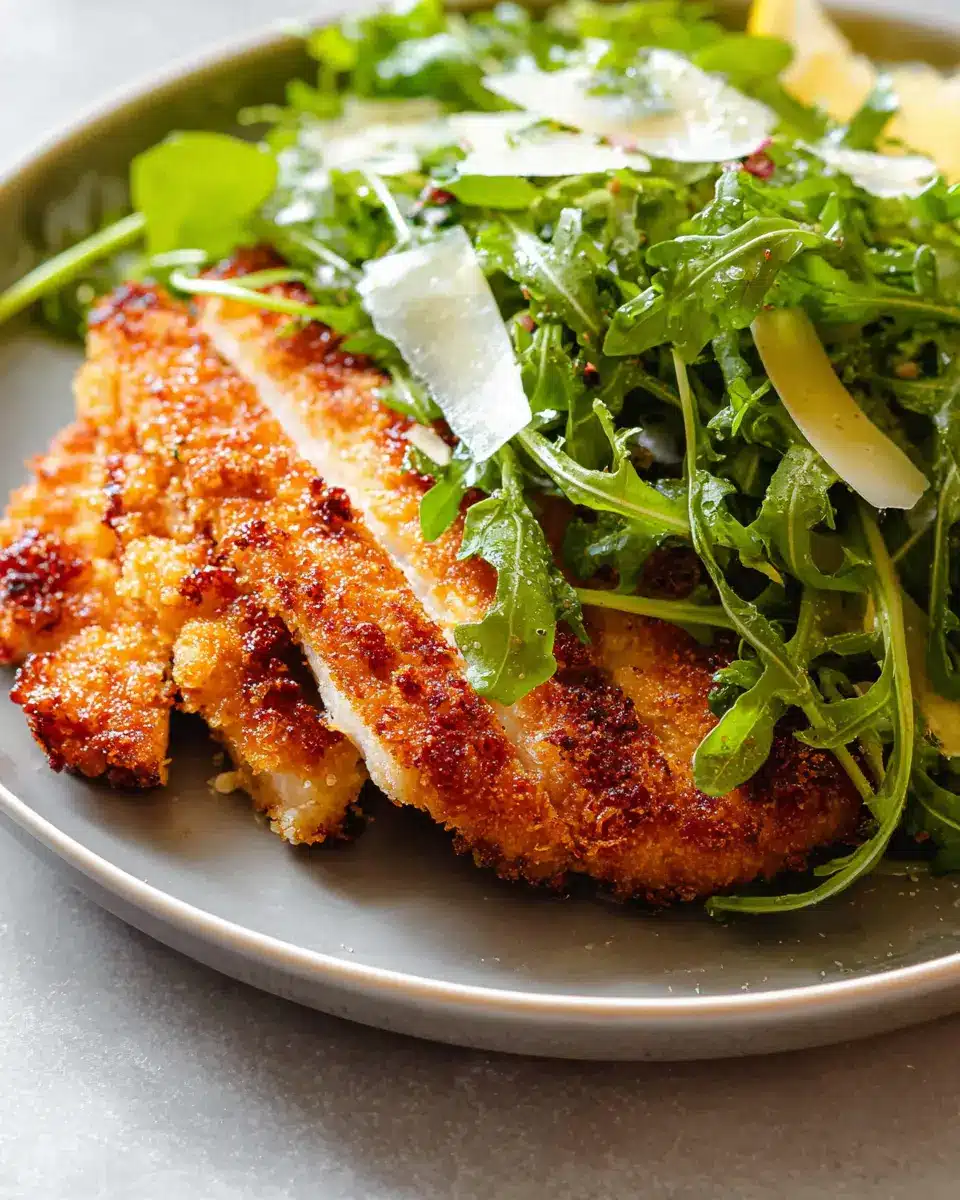
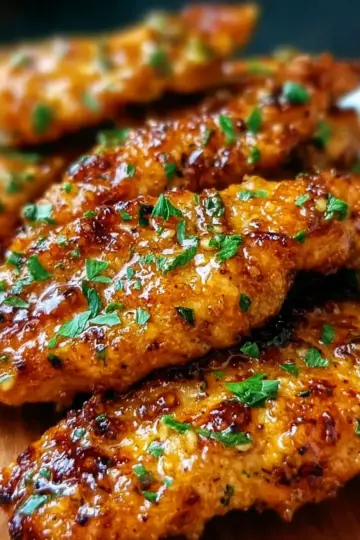
If you’re on the hunt for a dish that’s not only delicious but also impressively easy to whip up, then crusted chicken Romano cutlets are just what you need! Imagine tender chicken coated in a crispy, cheesy crust that’s bursting with flavor. This recipe takes the humble chicken cutlet to the next level by incorporating savory Romano cheese and light, airy panko breadcrumbs for added crunch.
To make these cutlets, you’ll start by pounding chicken breasts into uniform thickness, ensuring they cook evenly. They’re then dredged in a seasoned flour mixture before being dipped into a fluffy egg wash and finally being coated with the irresistible Romano and panko blend. What results is a golden-brown crust that encapsulates juicy chicken — perfect for any weeknight dinner or special occasion.
Pair these delightful cutlets with a fresh peppery arugula salad to balance the richness of the chicken. The peppery notes of arugula combined with a zesty lemon dressing elevate this dish to star status at your dinner table. If you’re ready to give your chicken routine a delicious makeover, stick around for the complete recipe!
Ingredients for Crusted Chicken Romano Cutlets
Main ingredients
To create delicious crusted chicken romano cutlets, you'll need a selection of flavorful ingredients. Start with 1 pound of boneless skinless chicken, which you’ll cut into strips. For dredging, gather ½ cup of all-purpose flour mixed with 1 teaspoon of Italian seasoning, garlic powder, 1 teaspoon of kosher salt, and ½ teaspoon of black pepper. This creates a flavorful base for your chicken.
Next, you’ll need 2 large whisked eggs for binding, and for the crunchy coating, grab 1 cup of panko breadcrumbs, ¾ cup of grated Pecorino Romano, and ⅓ cup of grated Parmesan cheese. To cook these golden delights, use ⅓ cup of avocado oil, which is perfect for high-heat frying.
Salad ingredients
Complement your crusted chicken romano cutlets with a refreshing salad. You’ll need ¼ cup of olive oil, 3 tablespoons of lemon juice, 2 teaspoons of Dijon mustard, and 1 tablespoon of honey for a zesty dressing. Add 3-4 ounces of baby arugula, ½ cup of thinly sliced red onions (soaked and drained), and ½ cup of sliced Granny Smith apples for a touch of sweetness. Finish with ⅓ cup of shredded Parmesan for that extra flavor kick!
These fresh ingredients beautifully contrast the crispy cutlets, offering a balanced meal that’s as pleasing to the palate as it is to the plate.
Preparing Crusted Chicken Romano Cutlets
Making crusted chicken Romano cutlets at home is a glorious way to elevate your weeknight dinner routine. With just a few simple steps, you can create something delicious that will impress family and friends alike. Let’s dive into the preparation!
Step 1: Prepare the chicken
First things first—let’s get our chicken ready! Start by taking 1 pound of boneless, skinless chicken and cutting it into six strips vertically. This ensures even cooking and nice portions. Place the chicken pieces between layers of parchment paper, and using a meat tenderizer, pound them to a thickness of about ¼ to ½ inch. This not only helps the chicken cook evenly but also tenderizes the meat. Don’t forget to sprinkle both sides with a pinch of kosher salt for flavor. Set the chicken aside while you prep the dredging station.
Step 2: Set up the dredging station
A well-organized dredging station is crucial for achieving that perfect crust on your cutlets. Grab three shallow bowls. In the first bowl, whisk together ½ cup of all-purpose flour, 1 teaspoon of Italian seasoning, 1 teaspoon of garlic powder, 1 teaspoon of kosher salt, and ½ teaspoon of black pepper. In the second bowl, combine 1 cup of panko breadcrumbs with ¾ cup of grated Pecorino Romano and ⅓ cup of grated Parmesan cheese.
In the final bowl, whisk two large eggs until frothy. This egg wash is key for helping the breading adhere to the chicken, creating that irresistible crust.
Step 3: Dredge the chicken cutlets
Now comes the fun part—dredging! Begin by coating each chicken cutlet in the flour mixture. Make sure to press gently to ensure it sticks, then shake off any excess. Next, dip the floured cutlet into the egg wash, ensuring no dry bits remain. Finally, roll it in the panko mixture, pressing down to help the breadcrumbs adhere. Place the coated cutlets on a clean plate and repeat until all chicken strips are ready.
Step 4: Heat the oil for frying
Heat ⅓ cup of avocado oil in a frying pan over medium-high heat. This oil is perfect for frying because of its high smoke point, ensuring a crispy cutlet without burning. To test if the oil is ready, drop in a piece of panko—if it sizzles immediately, you're good to go.
Step 5: Fry the cutlets to perfection
Gently lower 2 to 3 breaded cutlets into the hot oil. Fry for about 3 to 5 minutes on each side, or until they reach a golden-brown perfection. Don’t rush this step; patience yields a crispy exterior! Once cooked, place the cutlets on a wire rack set over a baking sheet. This helps keep them crisp while you fry the remaining pieces.
Step 6: Make the peppery arugula salad
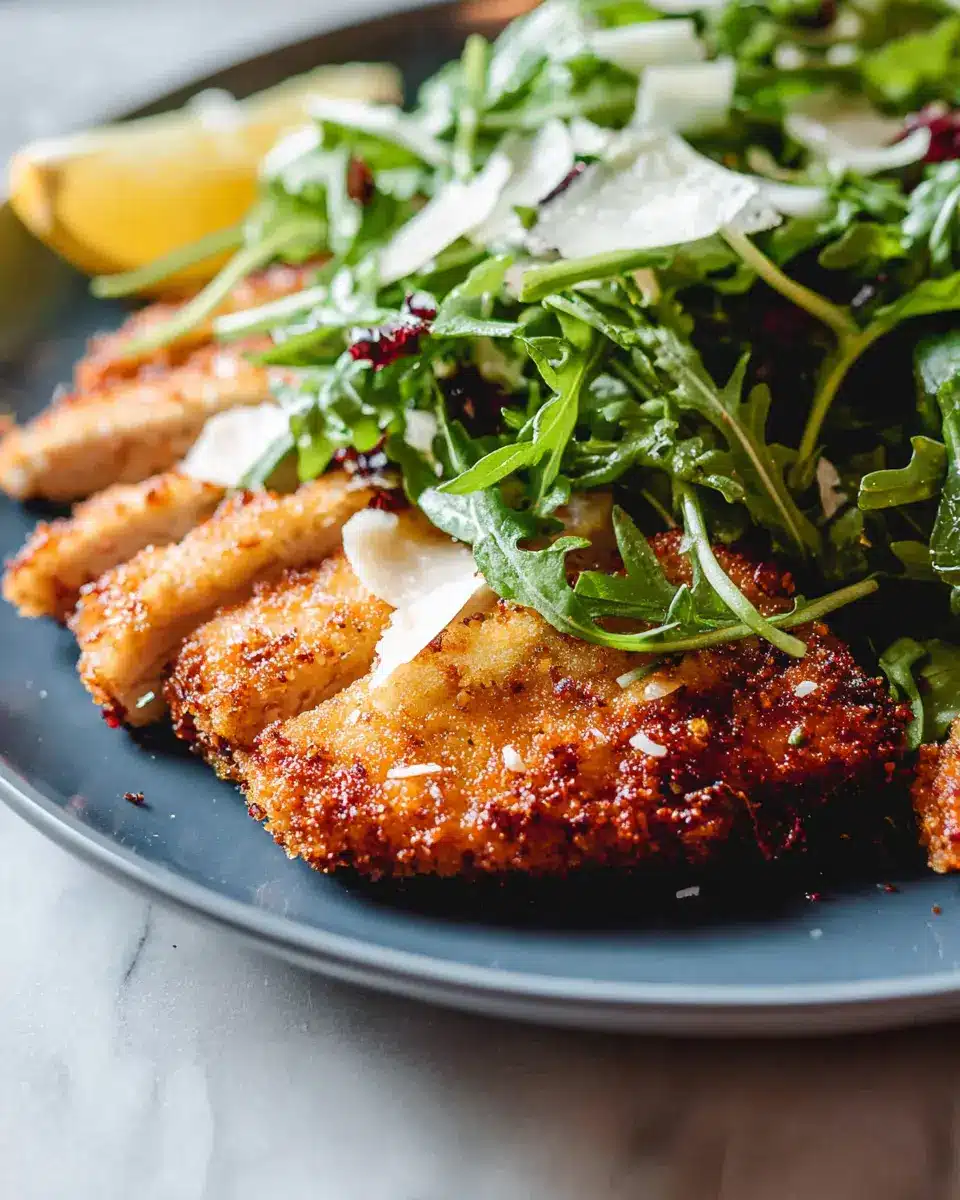
While the chicken cooks, it’s the perfect time to whip up a simple peppery arugula salad. In a mason jar, combine ¼ cup of olive oil, 3 tablespoons of lemon juice, 2 teaspoons of Dijon mustard, and 1 tablespoon of honey. Add salt and freshly cracked pepper to taste, and shake until well-mixed. In a large bowl, toss together 3-4 ounces of baby arugula, ½ cup of sliced red onions (soaked in cold water), and ½ cup of thinly sliced Granny Smith apples. Drizzle with a couple of tablespoons of dressing and sprinkle with shredded Parmesan to finish.
Step 7: Serve the dish
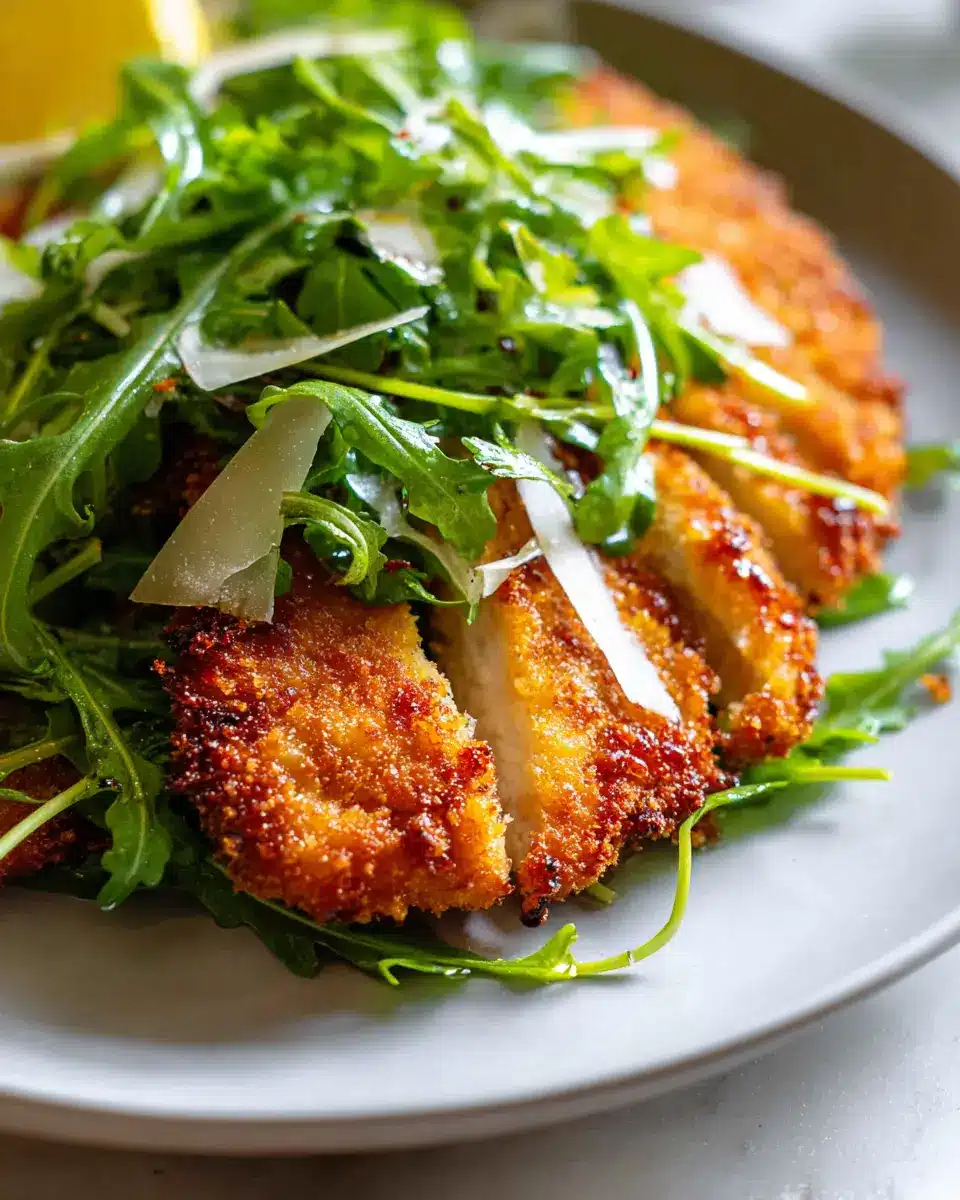
It’s time to plate your delicious crusted chicken Romano cutlets! You can either top the cutlets with the salad for a colorful presentation, or serve the salad on the side. Trust me, the combination of crispy chicken and a fresh, peppery salad is simply irresistible. Enjoy your delightful creation—you've earned it!
Variations on Crusted Chicken Romano Cutlets
Gluten-free Option
If you’re looking to make these crusted chicken Romano cutlets gluten-free, simply swap out the all-purpose flour and panko breadcrumbs for a gluten-free alternative. Rice flour works great for dredging, while gluten-free breadcrumbs can provide the same delightful crunch. It's a simple tweak that opens up a world of flavor for those with dietary restrictions!
Adding Herbs and Spices
Elevate your crusted chicken Romano cutlets by playing with various herbs and spices. Adding fresh or dried basil, oregano, or even a pinch of red pepper flakes can really enhance the flavor profile. For a zesty twist, incorporate lemon zest into your breadcrumb mixture. This seasoning creativity offers a delicious way to personalize the dish and cater to different taste buds!
For more on using herbs effectively, check out this Herbs and spices guide.
Cooking tips for Crusted Chicken Romano Cutlets
Ensuring crispy cutlets
To achieve the ultimate crispiness for your crusted chicken romano cutlets, start with a solid dredging technique. Make sure to evenly coat each piece in the seasoned flour, eggs, and then the mixture of panko and Romano cheese. For best results, let the coated cutlets rest for about 10 minutes before frying; this helps the breading stick better.
Managing frying temperatures
Frying at the right temperature is crucial for perfectly cooked cutlets. Too hot, and the outside will burn while the inside remains raw; too cool, and they’ll become greasy. Aim for medium-high heat—around 350°F (175°C). A simple trick? Drop a few panko crumbs into the oil; they should sizzle immediately, indicating it’s ready for your crusted chicken romano cutlets.
For more tips on perfect frying, check out Serious Eats' frying basics.
Serving Suggestions for Crusted Chicken Romano Cutlets
Side Dish Ideas
When it comes to pairing with your crusted chicken romano cutlets, consider serving them alongside a zesty roasted vegetable medley or creamy mashed potatoes for a classic touch. For a lighter fare, fluffy quinoa or a vibrant mixed greens salad can complement the dish well, bringing a refreshing balance to the savory flavors.
Pairing with Sauces
A drizzle of homemade basil pesto or a tangy garlic aioli can elevate your crusted chicken romano cutlets to new heights. If you're a fan of heat, a spicy chipotle mayo or a honey mustard sauce can add an interesting kick. And don’t underestimate the power of a simple squeeze of lemon to brighten the dish and enhance those cheesy flavors.
Check out great sauce recipes here and discover endless possibilities for your meal!
Time breakdown for Crusted Chicken Romano Cutlets
When planning to make your crusted chicken romano cutlets, having a clear time breakdown can streamline the cooking process and enhance your culinary experience.
Preparation time
For these delicious cutlets, you’ll need about 15 minutes to prepare. This includes gathering your ingredients, pounding the chicken, and setting up your dredging station.
Cooking time
The cooking part takes around 20 minutes. You’ll want to fry the cutlets in small batches to achieve that perfect golden brown crispiness.
Total time
In just 35 minutes, you can serve up a mouthwatering dish of crusted chicken romano cutlets alongside a fresh peppery arugula salad. Perfect for a weeknight dinner or a small gathering!
Feeling adventurous? Check out tips on perfecting your frying technique from experts at Serious Eats!
Nutritional Facts for Crusted Chicken Romano Cutlets
Understanding the nutritional content of your meals can truly enrich your cooking experience. Let’s break down the nutritional facts for crusted chicken romano cutlets to see what they bring to the table:
Calories
Each serving of these delicious cutlets contains approximately 400 calories. It's a satisfying option that won't derail your meal plan!
Protein
You'll get a robust 30 grams of protein per serving, making these cutlets an excellent choice for a post-workout meal or a hearty dinner.
Sodium
Keep an eye on your sodium intake; these cutlets have about 600 mg of sodium per serving. Pairing with a fresh arugula salad can help balance this out nicely!
By being mindful of these nutritional facts, you can enjoy your crusted chicken romano cutlets guilt-free, savoring every crispy bite while maintaining a healthy lifestyle. For more tips on balancing your meals, check out resources from Harvard Health and MyPlate.
FAQs about Crusted Chicken Romano Cutlets
Can I make this recipe ahead of time?
Absolutely! You can prepare the crusted chicken Romano cutlets a few hours in advance. Just cover the breaded cutlets and refrigerate them until you’re ready to fry. If you want to get really organized, you can even freeze them for later use. Just make sure to separate them with parchment paper to prevent sticking!
What can I serve with these cutlets?
These delicious cutlets pair wonderfully with a variety of sides. Consider serving them with a light peppery arugula salad, roasted vegetables, or creamy mashed potatoes. For a complete meal, you could also enjoy them with whole grain pasta or even a refreshing cucumber tomato salad.
How do I store leftover cutlets?
Leftover crusted chicken Romano cutlets can be stored in an airtight container in the fridge for up to three days. To reheat them, pop them in a preheated oven at 350°F (175°C) for about 10-15 minutes to regain their crispy texture. If you have more questions about storing chicken, check out resources like the USDA for food safety tips.
Conclusion on Crusted Chicken Romano Cutlets
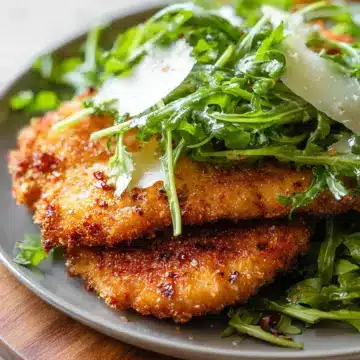
In summary, crusted chicken Romano cutlets paired with a peppery arugula salad create a delightful, balanced meal that is both satisfying and nutritious. Easy to prepare, this dish will become a staple in your kitchen. Enjoy the crispy texture and cheesy flavor with loved ones tonight!
Crusted Chicken Romano Cutlets with Peppery Arugula Salad
Equipment
- Frying Pan
- Tenderizer
- Parchment
- Avocado Oil
- Italian Seasoning
- Panko
Ingredients
Chicken Romano
- 1 pound boneless skinless chicken cut into 6 strips vertically
- ½ cup all purpose flour
- 1 teaspoon Italian seasoning
- 1 teaspoon garlic powder
- 1 teaspoon kosher salt
- ½ teaspoon black pepper
- 2 large eggs whisked
- 1 cup panko breadcrumbs
- ¾ cup Pecorino Romano grated
- ⅓ cup parmesan cheese grated
- ⅓ cup avocado oil or other high heat oil
Salad
- ¼ cup olive oil
- 3 tablespoon lemon juice
- 2 teaspoons dijon
- 1 tablespoon honey
- 3-4 ounces baby arugula
- ½ cup sliced red onions soaked in cold water and drained
- ½ cup sliced Granny Smith apples thinly sliced
- ⅓ cup shredded parmesan
Instructions
Preparation
- Place individual chicken strips between layers of parchment paper and pound them into ¼-½ inch thick slices using a meat tenderizer. Sprinkle chicken with a big pinch of kosher salt on both sides; set aside for now.
- In a shallow bowl, combine flour, Italian seasoning, garlic powder, kosher salt, and black pepper and whisk to combine. In another bowl, add the panko, pecorino, and parmesan, whisk to combine. In a third bowl, crack the eggs and whisk until the eggs are airy and light.
- Dunk the chicken in the flour mixture, press to coat, and shake off excess. Then place cutlet in the egg wash and ensure no dry bits remain. Transfer to panko mixture and press down to adhere the breading. Place cutlets on a clean plate, continue dredging in the same way.
- Heat avocado oil in a sauté pan or skillet over medium-high heat. Check if the oil is hot by dropping a panko crumb; it should sizzle immediately.
- Fry the cutlets in small batches (2-3 pieces at a time) for 3-5 minutes total, flipping around halfway. The chicken should be golden brown. Remove to a wire rack placed on a baking sheet. Continue cooking remaining cutlets the same way, adding more oil if needed.
- Combine olive oil, dijon, lemon juice, honey, a big pinch of salt, and freshly cracked pepper in a mason jar with a lid. Shake until mixed. In a salad bowl, add arugula, onions, apples, and toss in a couple tablespoons of dressing. Taste and add more dressing as desired. Top with shredded parmesan.
- Place cutlets on a plate and top with the prepared salad, or serve on the side immediately.
Leave a Reply