
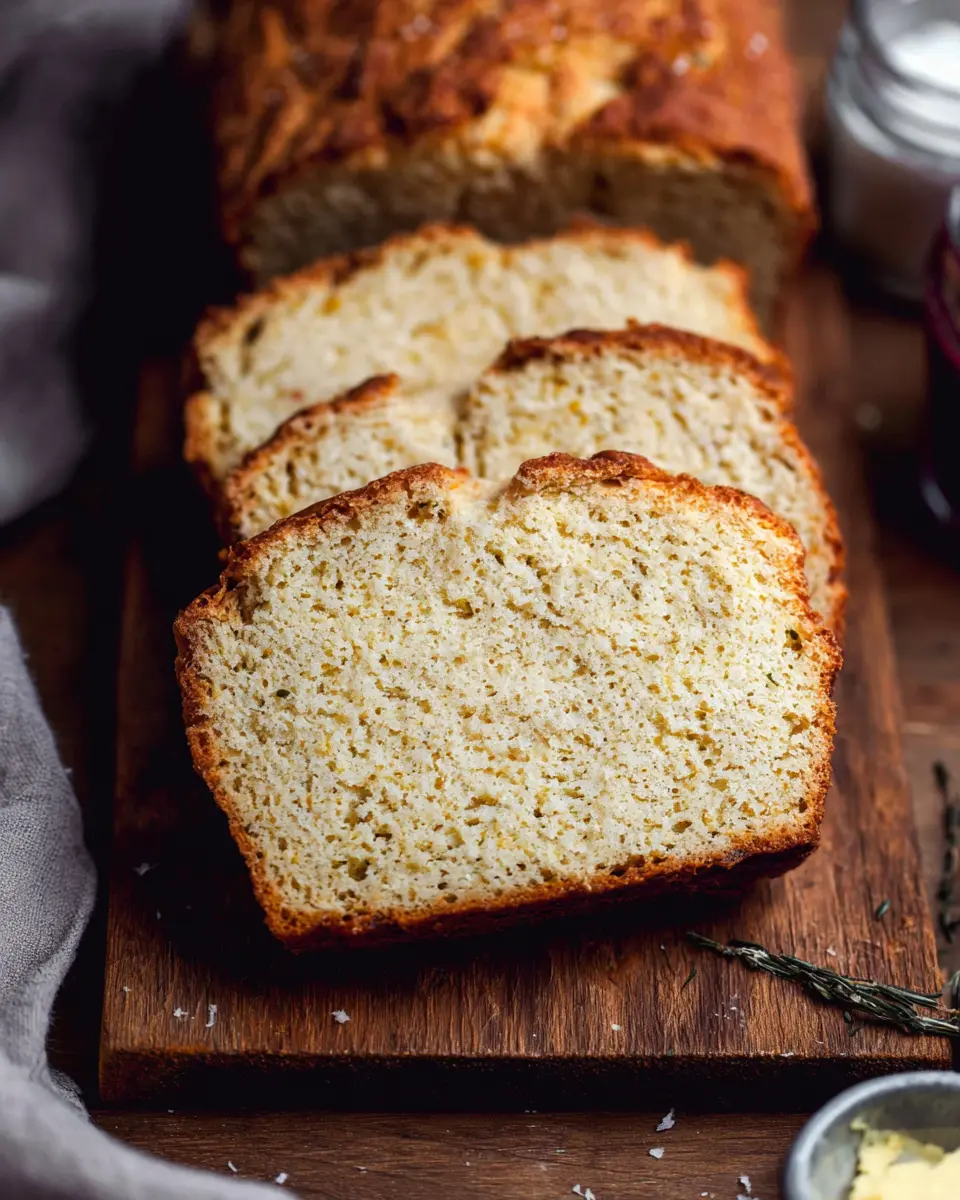
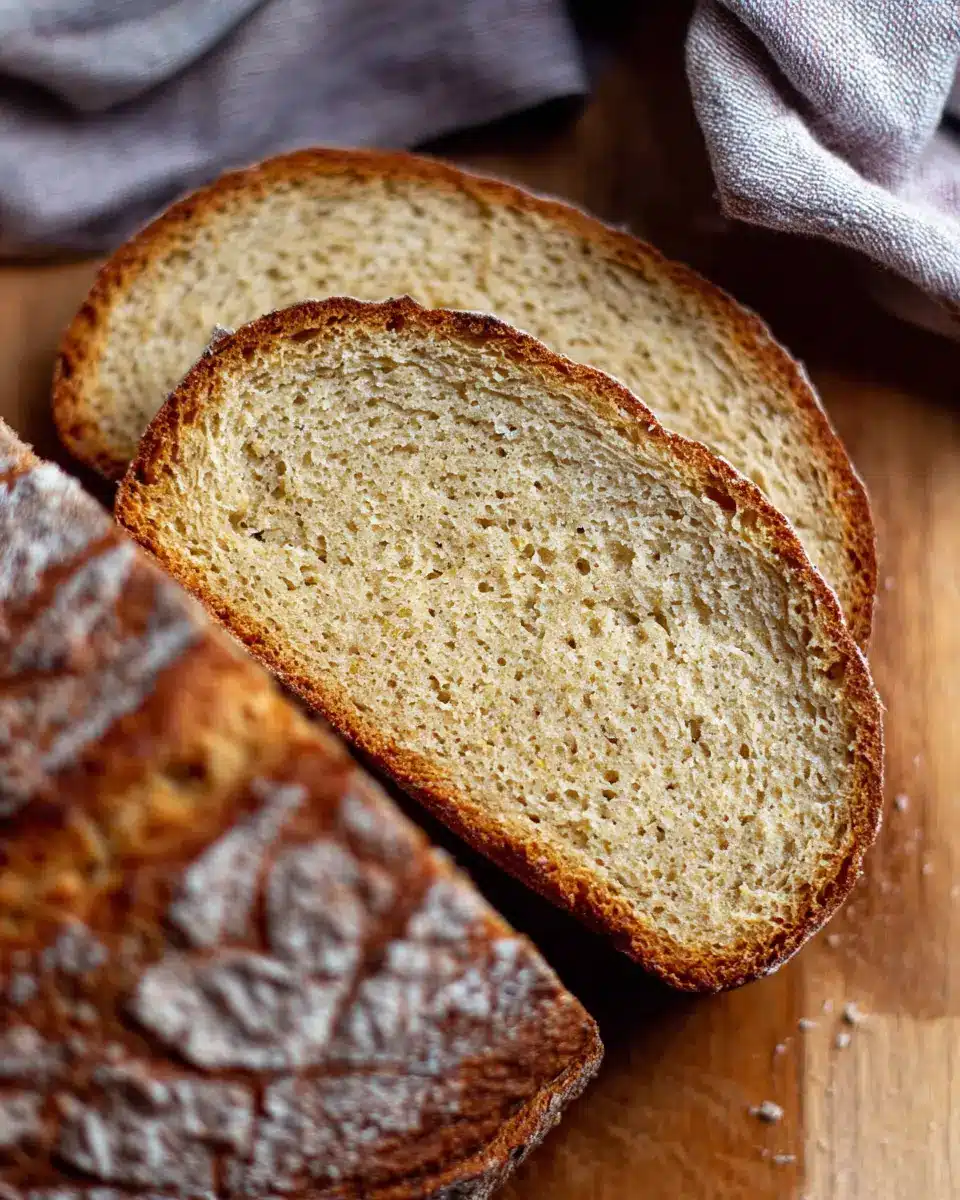
Introduction to Homemade Gluten Free Bread
As a young professional, finding quick, nutritious meals can be a challenge. That’s where homemade gluten free bread comes in—it's not just a delightful treat; it's a game changer for your busy lifestyle. Imagine having soft, fluffy bread ready to pack sandwiches for lunch or serve as the perfect base for your favorite toppings. No more settling for store-bought varieties that often lack flavor and texture!
Making your own gluten free bread means you control the ingredients, ensuring that every slice is both healthy and delicious. You can tailor it to your taste preferences—add herbs or seeds for an extra kick, or swap in different sweeteners to find your perfect flavor balance. Plus, it's surprisingly simple to prepare. With just a little prep time, you can reap the benefits of fresh, homemade bread, delivered straight from your oven to your table.
According to a survey by the Gluten Intolerance Group, over 3 million Americans have gluten sensitivity, leading many to seek gluten-free options. Embracing this homemade bread not only satisfies dietary needs but also offers a cost-effective solution that saves you money in the long run. Say goodbye to gluten worry and hello to a delicious, healthy staple in your diet!
For an easy recipe that delivers on taste and texture, check out our full guide on how to make homemade gluten free bread.

Ingredients for Homemade Gluten Free Bread
Essential ingredients for soft and fluffy gluten free bread
Creating homemade gluten free bread requires a handful of key ingredients that work together to give you that delightful softness and fluffiness. Here’s what you’ll need:
- Bread Mix: Start with 1 package of Bob's Red Mill gluten free bread mix for a reliable base.
- Instant Yeast: 2 ¼ teaspoons (or 1 packet) is essential for that necessary rise.
- Salt: 1 ¼ teaspoons enhances flavor and helps with structure.
- Water: 1 ½ cups, heated to 110°F, activates the yeast for the perfect rise.
- Eggs: One whole egg plus two egg whites contribute to the bread’s airy texture and structural integrity.
- Olive Oil: 5 tablespoons add moisture.
- Honey: 2 tablespoons not only sweeten the bread but also nourish the yeast.
Optional ingredient substitutes
Feel free to tweak the recipe based on your pantry. You can swap olive oil with melted butter for a richer flavor, and honey can be replaced with white sugar. Just make sure to keep a sweetener for yeast activation! If you’re vegan, consider flax eggs as a substitute for the eggs. Adjusting these elements can personalize your homemade gluten free bread to suit your dietary preferences.
Explore alternatives with credible resources, such as the benefits of using flax seeds from Healthline, which delve deeper into how they can enhance your gluten-free baking.
Step-by-step preparation of Homemade Gluten Free Bread
Gather all your ingredients
Before diving into the magic of making homemade gluten free bread, it’s essential to gather all your ingredients. This not only streamlines the process but also ensures you won’t be fumbling around the kitchen halfway through. For this recipe, you will need:
- 1 package Bob's Red Mill gluten free bread mix/flour
- 2 ¼ teaspoons instant yeast
- 1 ¼ teaspoons salt
- 1 ½ cups water (warmed)
- 1 egg
- 2 egg whites
- 5 tablespoons olive oil
- 2 tablespoons honey
Make sure to have a stand mixer at hand, as it will be your trusty assistant throughout this baking adventure!
Mix the dry ingredients in your stand mixer
Once everything is within reach, it’s time to add the dry ingredients to your stand mixer. Start with the bread flour (make sure to remove the yeast packet from the flour bag), then add in the instant yeast and salt. Mix those together until well combined. This step is crucial for ensuring that your bread will rise evenly.
Activate the yeast with warm water
Next up, you’ll activate the yeast, which is the heart of your homemade gluten free bread. Heat the water to around 110°F — this is the sweet spot! If it’s too hot, it could kill the yeast, making it less effective. Too cold? It won’t activate. You can check the temperature with a meat thermometer, ensuring success.
Combine and knead the dough
With the mixer running on low, add in the warm water along with the rest of your ingredients: the egg, egg whites, olive oil, and honey. Scrape down the sides and bottom of your bowl as needed. Let the mixer work its magic on medium/low speed for about 5 minutes; this is where your dough gets nicely kneaded.
Let the dough rise
Next, transfer the dough to a greased 9x5 loaf pan, smoothing the top to perfection. Cover it with a dish towel and let it rise for about 45 minutes. While it won’t double in size, it should noticeably expand. Meanwhile, you can use this time to preheat your oven to 375°F.
Bake to perfection
Now comes the exciting part! Pop your loaf into the preheated oven (don’t forget to remove the towel) and let it bake for 30 minutes. After that, reduce the temperature to 350°F for an additional 30-35 minutes. Use a meat thermometer to check for that all-too-important internal temperature of 210°F.
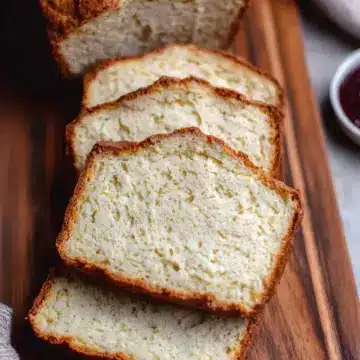
Cool and slice the bread
Once that heavenly aroma fills your kitchen, remove the bread from the oven and cool it in the pan for about 15 minutes. After that, transfer it to a wire rack. Waiting to slice your homemade gluten free bread is the hardest part, but trust me, it’s worth it. Enjoy your delicious creation, perfect for all your sandwiches or simply with a spread of butter!
And there you have it! Baking gluten-free bread is easier than you might think, and the results are truly rewarding.
Variations on Homemade Gluten Free Bread
Adding herbs and spices for flavor
Enhancing your homemade gluten free bread with herbs and spices can take it to the next level! Consider adding dried rosemary, thyme, or even garlic powder for a savory twist. Each of these flavors can subtly transform your bread into a delightful side for soups or salads. You can experiment by mixing in a teaspoon or two of your favorite herbs right into the dough.
Sweet variations with cinnamon or nuts
If you have a sweet tooth, why not turn your homemade gluten free bread into a delightful treat? Adding cinnamon, chopped nuts, or even dried fruit can create a delicious breakfast option or snack. Simply mix in a tablespoon of cinnamon and half a cup of walnuts or pecans before baking, and enjoy the warm, comforting aroma wafting through your kitchen. You might just create the perfect addition to your weekend brunch!
Cooking Tips and Notes for Homemade Gluten Free Bread
Importance of Ensuring Proper Water Temperature
Getting the water temperature just right is crucial when making homemade gluten free bread. Aim for 110°F—too hot and you’ll kill the yeast; too cold, and it won’t activate. This small detail sets the stage for perfect rising and fluffy texture. A simple meat thermometer can help you nail this step every time.
Why Eggs Are Crucial for Texture
Don’t underestimate the power of eggs in your bread! They not only add moisture but also provide essential protein that helps structure the loaf. Skipping the egg and egg whites means you’re risking a dense, gummy result that nobody wants. For that delightful chewiness and lift, make sure to include them in your homemade gluten free bread recipe!
Serving Suggestions for Homemade Gluten Free Bread
Best Toppings for Your Gluten Free Bread
Transform each slice of your homemade gluten free bread into a delicious canvas! For a creamy treat, spread a layer of avocado and sprinkle with salt and pepper. Alternatively, indulge in a classic peanut butter and banana combo for a quick breakfast. Consider adding a drizzle of honey or your favorite homemade jam for those with a sweet tooth. If you're feeling adventurous, try topping with roasted red pepper hummus or a light sprinkle of goat cheese!
Pairing Ideas for Sandwiches and Toasts
The versatility of your homemade gluten free bread makes it ideal for mouthwatering sandwiches. Layer it with turkey bacon, fresh spinach, and a smear of mustard for a satisfying lunch. For a delightful breakfast toast, pair it with chicken ham and a sunny-side-up egg. If you're hosting brunch, serve slices topped with smashed avocado, cherry tomatoes, and a pinch of chili flakes for an elegant touch. The options are endless, so think outside the loaf!
For additional tips on gluten-free living, visit Celiac Disease Foundation.
Time breakdown for Homemade Gluten Free Bread
Preparation time
Getting ready to bake this homemade gluten free bread takes about 20 minutes. This includes gathering your ingredients and mixing everything together, which is a breeze, especially if you have a stand mixer on hand.
Baking time
Once your dough has risen, the baking time is about 1 hour. This includes an initial bake at 375°F followed by a lower temperature for even baking. Don't rush this step; it's where the magic happens!
Total time
From start to finish, you’re looking at approximately 2 hours and 5 minutes. This includes preparation, rise time, and baking, making it a perfect weekend project or a cozy weeknight treat. So set aside a little time, and get ready to enjoy some delicious, warm bread!
Nutritional facts for Homemade Gluten Free Bread
Calories per slice
Each slice of this delicious homemade gluten free bread contains approximately 165 calories. It's a satisfying option that won’t weigh you down, making it a great choice for a snack or a part of a balanced meal.
Key nutritional components
This bread is not just about calories; it also packs in some essential nutrients:
- Carbohydrates: 24g
- Protein: 5g
- Fat: 5g
- Sodium: 190mg
- Fiber: 0.5g
- Sugar: 5g
Crafted with wholesome ingredients, this bread balances taste and nutrition, ensuring it fits seamlessly into your lifestyle. For more information about gluten-free diets, check out resources from the Celiac Disease Foundation.
If you ever wondered how to enjoy flavorful bread while sticking to your dietary needs, this recipe is a wonderful way to do just that!
FAQ about Homemade Gluten Free Bread
Can I freeze homemade gluten free bread?
Absolutely! Freezing your homemade gluten free bread is a great way to preserve freshness. After it cools completely, wrap the loaf tightly in plastic wrap and then place it in a freezer-safe bag. When you’re ready to enjoy it, simply thaw it at room temperature or toast slices directly from the freezer.
How do I store gluten free bread to keep it fresh?
To keep your gluten free bread fresh, store it in an airtight container at room temperature for up to three days. For longer storage, opt for the freezer method mentioned above. Avoid refrigeration, as this can dry out the bread and affect its texture.
What if my bread doesn’t rise?
If your homemade gluten free bread doesn’t rise, it might be due to inactive yeast. Ensure your water temperature is just right (between 105°F to 115°F) when activating the yeast. Additionally, fresh ingredients and using the correct measurements are crucial for proper rising. If all else fails, consider adjusting the rising time or checking your yeast's expiration date!
Conclusion on Homemade Gluten Free Bread
Embrace homemade gluten free bread for healthier eating habits
Homemade gluten free bread is not only simple to make but also a fantastic alternative for maintaining a balanced diet. By controlling the ingredients, you're ensuring each bite is wholesome and delicious. So, gather your supplies and start baking—your taste buds and body will thank you!
Homemade Gluten Free Bread
Equipment
- stand mixer
- Meat Thermometer
- 9x5 loaf pan
Ingredients
- 1 package Bob's Red Mill gluten free bread mix/flour the package says bread mix
- 2.25 teaspoons instant yeast 1 packet
- 1.25 teaspoons salt
- 1.5 cups water heated to 110 degrees Fahrenheit
- 1 whole egg
- 2 whites egg whites
- 5 tablespoons olive oil can substitute with melted butter
- 2 tablespoons honey can substitute for white sugar
Instructions
- To the bowl of a stand mixer fitted with the dough hook, add the bread flour (remove the yeast packet from the flour bag - we want to use instant yeast), instant yeast and salt.
- Mix to combine.
- Heat the water to 110 degrees Fahrenheit. I check it with a meat thermometer which is key. Too hot and it will kill the yeast, too cold and it won't activate. Between 105 and 115 Fahrenheit is what you want.
- With the mixer running on low, add in all remaining ingredients including the water.
- Scrape down the sides and bottom of the bowl as needed, then let the mixer run on medium/low speed for about 5 minutes to knead the dough.
- Grease a 9x5 loaf pan and add the dough into the pan. Spread the top out smooth.
- Cover with a dish towel and set aside to rise for 45 minutes.
- It won't quite double in size, but should expand quite a bit.
- Toward the end of the 45 minutes, preheat the oven to 375 Fahrenheit.
- Add the bread to the oven (without the towel), and bake for 30 minutes, then decrease to 350 and bake an additional 30-35 minutes.
- If you notice the top of the bread browning too much, you can tent it with foil.
- The bread is done when the inside temperature reaches 210 Fahrenheit. I suggest checking it with a meat thermometer.
- Let cool in the pan for about 15 minutes, then transfer to a wire rack to finish cooling. Slice and enjoy!


Leave a Reply