
Introduction to Homemade Walnut Milk
If you’ve ever glanced at the ingredients list on a carton of store-bought nut milk, you might have found it filled with additives, preservatives, and sugars. That’s why making your own homemade walnut milk is not just simple—it’s a game changer! In just 15 minutes, you can whip up a fresh batch that's free from unwanted extras. Plus, it’s incredibly delicious, with a rich, nutty flavor that’s hard to beat.
So why choose homemade walnut milk over the store-bought variety? For one, control. You can customize the sweetness and flavor to your liking. Want a hint of vanilla or a touch of honey? Go for it! According to nutritionists, opting for homemade options can help you avoid unnecessary sugars and unhealthy fats, making your diet much cleaner (Healthline).
Another perk? Freshness. Homemade walnut milk doesn’t sit on the shelf for weeks; it’s at its best when consumed within a few days. Plus, who doesn’t love the satisfaction of creating something healthy and delicious right in their own kitchen? So, gather your walnuts, and let’s get blending! You’ll never want to go back to the store-bought stuff again.
Ingredients for Homemade Walnut Milk
Creating your own homemade walnut milk is a delightful endeavor that yields a creamy, nutritious alternative to dairy. Let's dive into what you need to whip up this simple yet delicious beverage!
Basic ingredients for walnut milk
To start, gather these essential ingredients:
- 1 cup walnuts: Opt for raw, unsalted walnuts for the best flavor.
- 3 cups water: Fresh, filtered water will enhance the overall taste.
- 1 pinch salt (about ⅛ tsp): Just a sprinkle to balance the flavors.
These basic ingredients lay the foundation for your walnut milk, which can be enjoyed in a multitude of ways—from smoothies to coffee.
Optional add-ins for flavor enhancement
Feel free to personalize your walnut milk with these optional add-ins:
- 1-2 teaspoons vanilla extract: Adds a lovely sweetness and depth.
- 1-2 tablespoons honey, dates, or maple syrup: For natural sweetness—perfect if you prefer a hint of sugar!
Experimenting with these additional ingredients allows you to create a truly unique walnut milk that suits your taste while ensuring that each sip is as invigorating as the last.
If you're looking for more tips on nuts and grains, check out the benefits of nut-milks for more inspiration!
Step-by-Step Preparation of Homemade Walnut Milk
Making homemade walnut milk is an enjoyable process that can be completed in just 15 minutes, offering a rich, creamy alternative to dairy milk. Let's walk through each step together, ensuring you have a delightful experience while creating this nutritious drink.
Gather Your Ingredients and Tools
Before you dive into the preparation, it's important to have everything you need on hand. Here’s what you’ll require:
-
Ingredients:
-
1 cup of walnuts (purchase here)
-
3 cups of water
-
A pinch of salt (about ⅛ tsp)
-
Optional Add-Ins:
-
1-2 teaspoons of vanilla extract
-
1-2 tablespoons of honey, dates, or maple syrup (for sweetness)
-
Tools:
-
A small pot
-
A fine mesh strainer or a nut milk bag (find one here)
-
A high-speed blender
Having these items ready will streamline your process and make your time in the kitchen more enjoyable!
Boil and Soften the Walnuts
Once you have your ingredients ready, it’s time to soften the walnuts. This step is crucial as it helps unlock their creamy potential.
- Place the walnuts in a small pot and cover them completely with water.
- Bring the water to a boil and then reduce the heat to simmer.
- Let the walnuts simmer for about 5-10 minutes. You want them to be soft, which helps in achieving a smoother milk.
This method eliminates the need for soaking, making it a quick and convenient option!
Strain and Rinse the Walnuts
After you’ve boiled the walnuts:
- Carefully strain the walnuts using a fine mesh strainer.
- Rinse them under cool water until the water runs clear.
This step is vital as it removes any lingering bitterness from the walnuts, ensuring your homemade walnut milk has a pleasant taste.
Blend the Walnuts with Water and Salt
Now for the fun part! It’s time to blend:
- Add the strained walnuts to your high-speed blender.
- Pour in the 3 cups of fresh water and add a pinch of salt for flavor.
- If you’d like to sweeten your milk, include your chosen optional add-ins like vanilla or honey at this stage.
Blend the mixture on high for about a minute or until it’s completely smooth. The blending activates the creamy texture of the walnuts.
Strain the Mixture Until Smooth
The final step is to strain your blended mixture:
- Pour the mixture through a nut milk bag or fine mesh strainer.
- If using a strainer, you may need to repeat this process 2-3 times until little pulp remains.
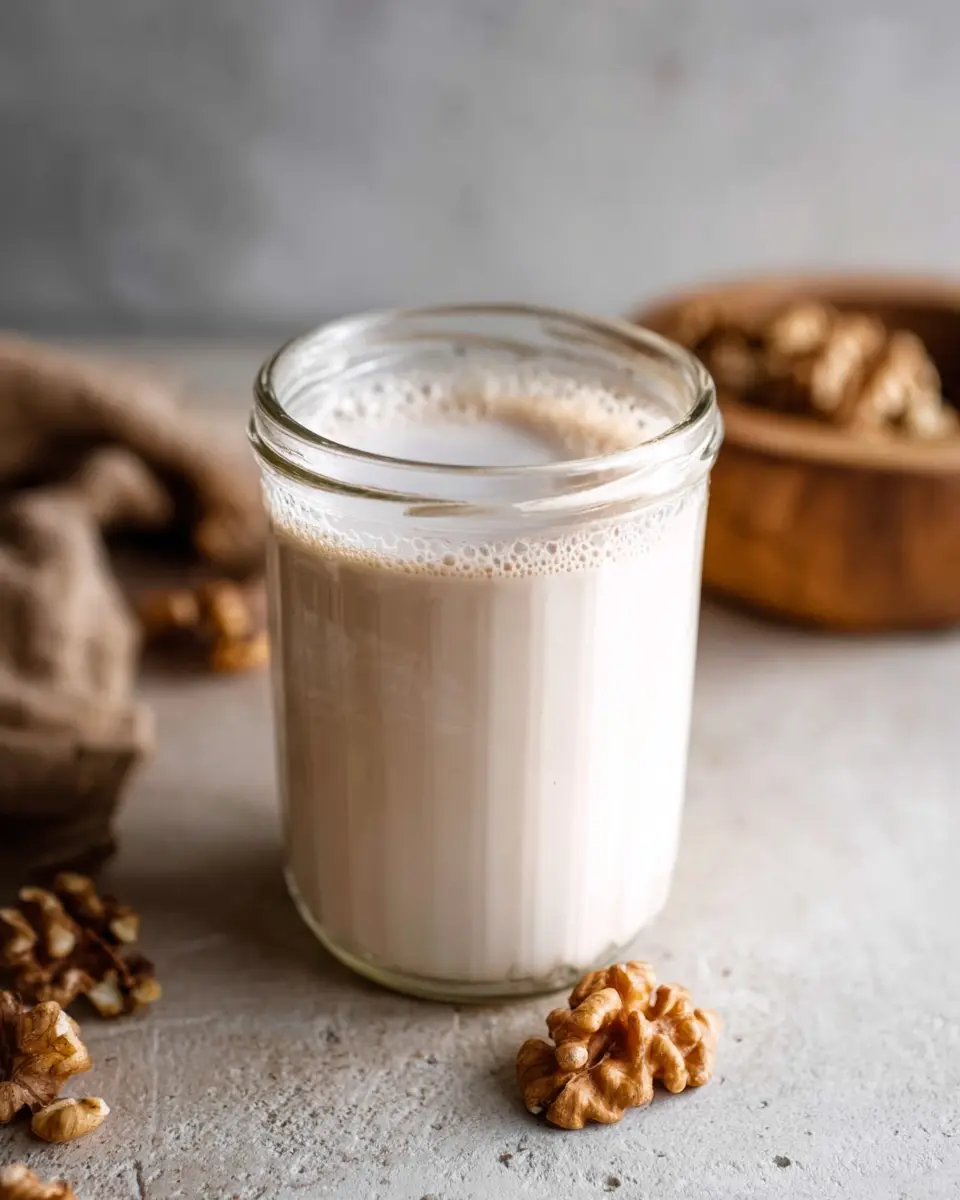
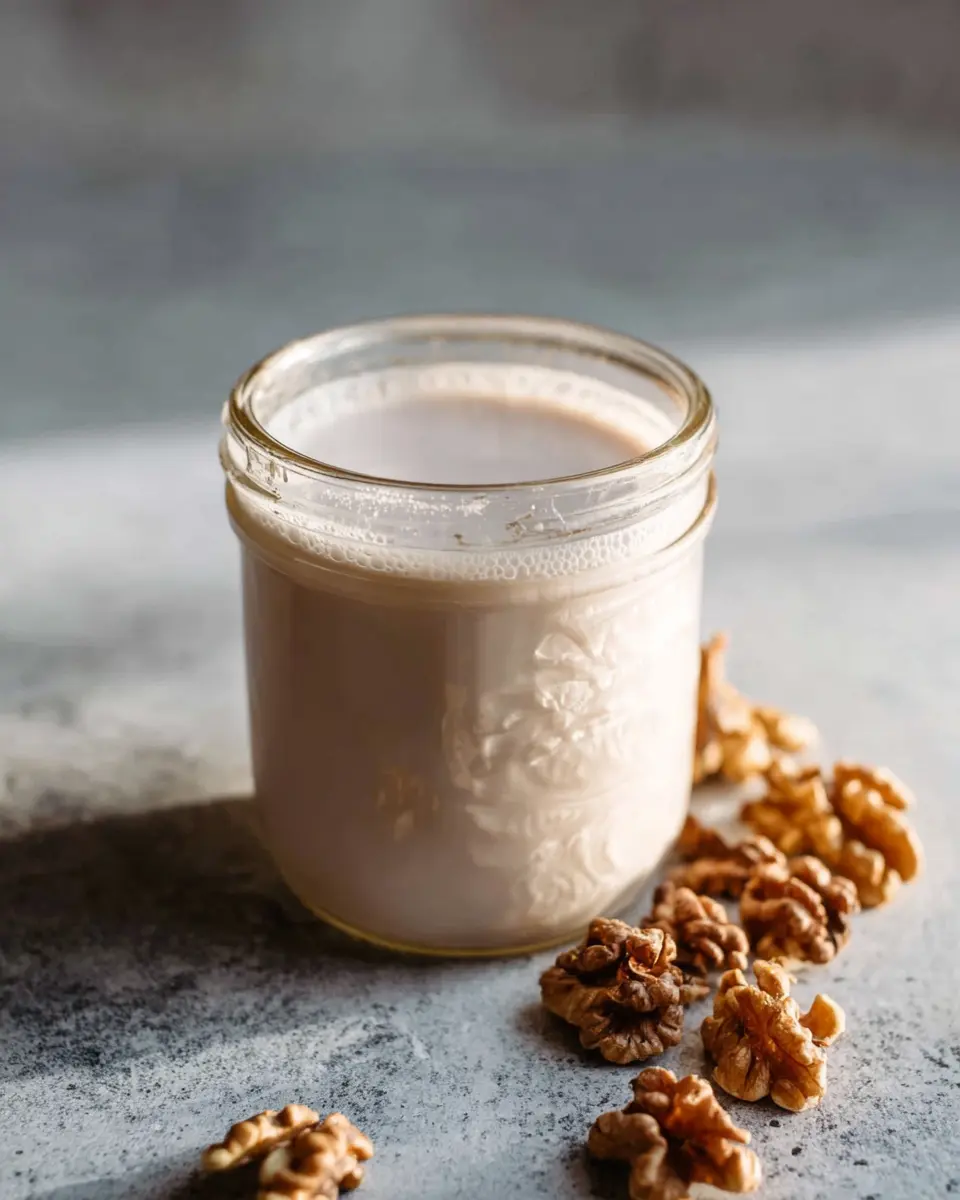
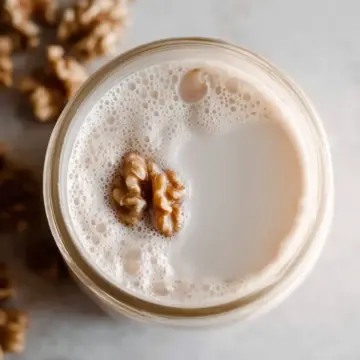
This will leave you with a beautifully smooth walnut milk ready for storing!
Once you've transferred your delicious homemade walnut milk to glass jars, make sure to keep it in the fridge, where it will stay fresh for about three days. Enjoy your creamy creation in coffee, smoothies, or just on its own!
Variations on Homemade Walnut Milk
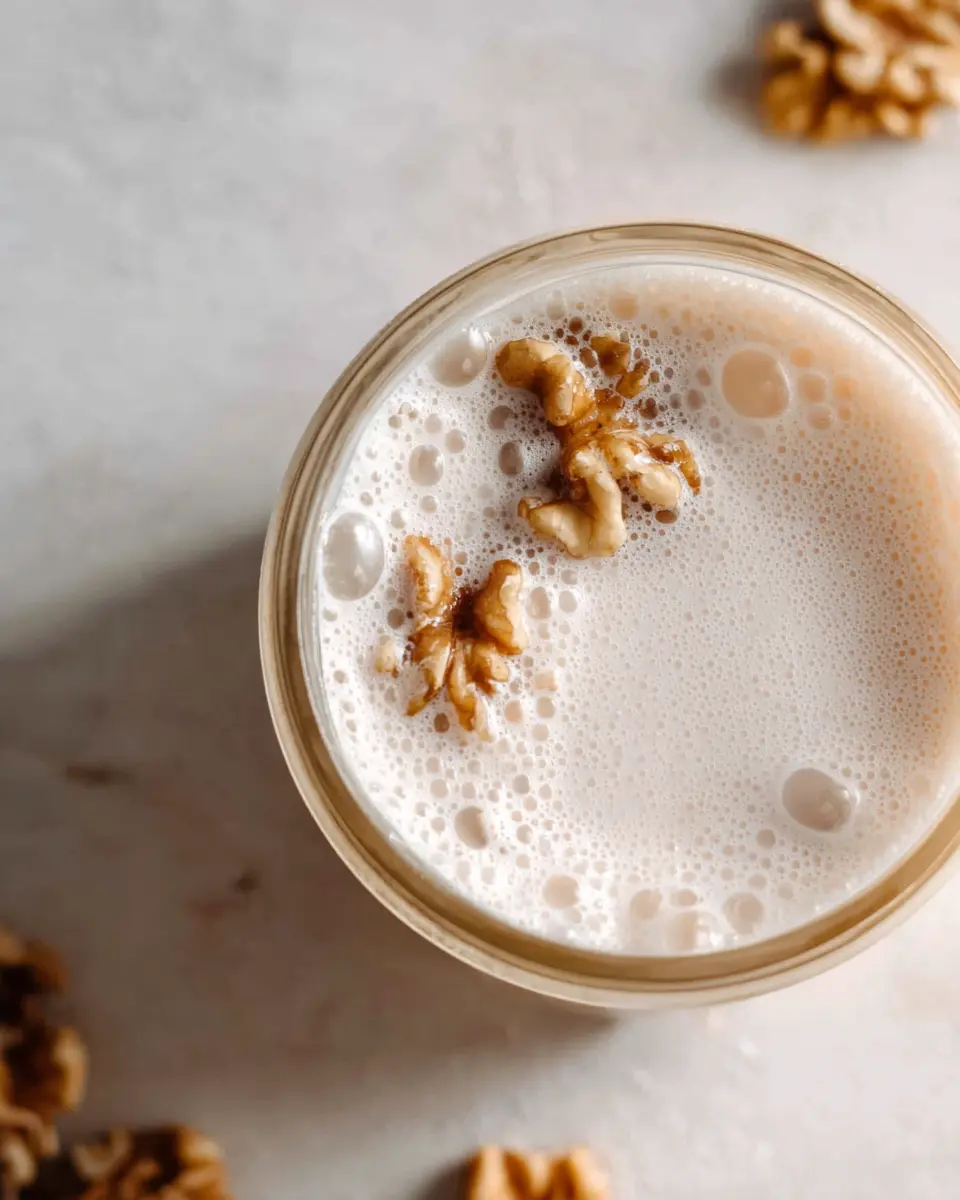
Vanilla Walnut Milk for a Sweet Twist
Elevate your homemade walnut milk with a splash of vanilla extract! Just add 1-2 teaspoons during blending for a warm, aromatic flavor that pairs beautifully with coffee or oatmeal. For a touch of sweet indulgence, consider mixing in 1-2 tablespoons of honey or maple syrup. This variation makes your walnut milk a perfect addition to breakfast or a delightful afternoon treat.
Chocolate Walnut Milk for a Decadent Treat
If you’re in the mood for something richer, try turning your homemade walnut milk into a chocolatey delight. Simply blend in 2-3 tablespoons of cocoa powder or cacao for a velvety texture and a blast of chocolaty goodness. This variation is fantastic in smoothies or as a caffeine-free hot chocolate alternative.
Feel free to experiment with these variations and let your taste buds guide you toward your favorite!
Cooking Tips and Notes for Homemade Walnut Milk
How to Store Walnut Milk Properly
To keep your homemade walnut milk fresh, store it in an airtight glass jar in the refrigerator. Be sure to consume it within three days for the best flavor and quality. If you notice any separation, simply shake the jar gently before use.
Tips for Achieving the Perfect Consistency
For that creamy, smooth texture, ensure you blend the walnuts thoroughly for about a minute. Straining through a fine mesh strainer 2-3 times works wonders! Don't forget to adjust the water amount to suit your taste; more water creates a lighter milk, while less gives it a thicker consistency.
Creating your perfect walnut milk can enhance your smoothies or coffee, so feel free to experiment!
Serving Suggestions for Homemade Walnut Milk
Coffee and Smoothies
If you love your morning coffee, try substituting your regular milk with homemade walnut milk. Its rich, nutty flavor complements both hot and iced coffee beautifully. Just add a splash to your brew or use it as a base in a delightful coffee smoothie to kickstart your day.
Pairing with Cereals and Granola
Splash some homemade walnut milk over your favorite cereal or granola for an added crunch and creaminess. The milk’s unique flavor pairs well with oats, fruit, and even savory breakfast grains. Want to elevate your breakfast? Drizzle a bit of honey or maple syrup for natural sweetness!
Time Breakdown for Homemade Walnut Milk
Preparation Time
Making your own homemade walnut milk begins with a quick prep. You'll need about 5 minutes to gather your ingredients and get everything ready.
Cooking Time
Next comes the cooking phase. Allow 10 minutes for boiling and simmering the walnuts, which lets them soften perfectly.
Total Time
In just 15 minutes, you can enjoy a delicious, creamy walnut milk that elevates your morning coffee or smoothie. It’s that easy! Plus, you can learn more about the benefits of homemade nut milks on Healthline.
Nutritional Facts for Homemade Walnut Milk
Calories per serving
A single serving of Homemade Walnut Milk packs approximately 154 calories. This makes it a wholesome addition to your daily diet without excessive calories.
Nutritional benefits of walnuts
Walnuts are nutrient-rich powerhouses, providing:
- Healthy fats: 19g of fat per serving, mainly polyunsaturated fats beneficial for heart health.
- Protein: With 4g, they help build and repair tissues.
- Fiber: Each serving contains 2g, supporting digestion.
- Vitamins & minerals: Rich in vitamin E, magnesium, and antioxidants, walnuts can contribute to overall wellness.
Incorporating this delicious milk into your meals can help elevate your nutrition game while keeping things tasty! Whether you enjoy it in smoothies or coffee, it’s a versatile choice. For more on the benefits of walnuts, check resources like Healthline or WebMD.
FAQs about Homemade Walnut Milk
Can I use other nuts besides walnuts?
Absolutely! While this recipe features walnuts for their rich, buttery flavor, you can experiment with other nuts like almonds, cashews, or hazelnuts. Just keep in mind that different nuts may require varying soaking times and produce different textures and flavors.
How long can I keep homemade walnut milk?
Homemade walnut milk is best enjoyed fresh, which means you should try to consume it within 3 days for optimal taste and nutrition. Store it in a sealed glass jar in the fridge, and give it a good shake before using, as separation is natural.
What can I do with leftover walnut pulp?
Don’t toss that leftover walnut pulp! It can be a fantastic addition to smoothies, baked goods, or even energy balls. For a savory twist, consider mixing it into recipes like veggie burgers or soups to enhance texture and nutrition.
Conclusion on Homemade Walnut Milk
Creating your own homemade walnut milk is a delightful culinary adventure that takes minimal time and effort. With just a few ingredients, you've got a nutritious and versatile milk alternative that's perfect for smoothies, cereals, or even coffee. Plus, it’s free from additives, ensuring you know exactly what you’re drinking. Enjoy and get creative with flavors!
Homemade Walnut Milk
Equipment
- Pot
- High speed blender
- nut milk bag
- fine mesh strainer
Ingredients
Walnut Milk Ingredients
- 1 cup walnuts
- 3 cups water
- 1 pinch salt about ⅛ tsp
- 1-2 teaspoons vanilla extract optional
- 1-2 tablespoons honey can also use dates or maple syrup
Instructions
Walnut Milk Preparation
- Add the walnuts to a small pot and cover with water.
- Bring to a boil, then let simmer for 5-10 minutes to allow the walnuts to soften.
- Strain and rinse well until the water runs clear.
- Add to a high speed blender with the water, salt and any optional ad-ins.
- Blend until completely smooth, about 1 full minute.
- Use a nut milk bag to strain once or run through a fine mesh strainer 2-3 times until little pulp remains.
- Transfer to glass jars and store in the fridge.


Leave a Reply