
Introduction to Red Velvet Brownies
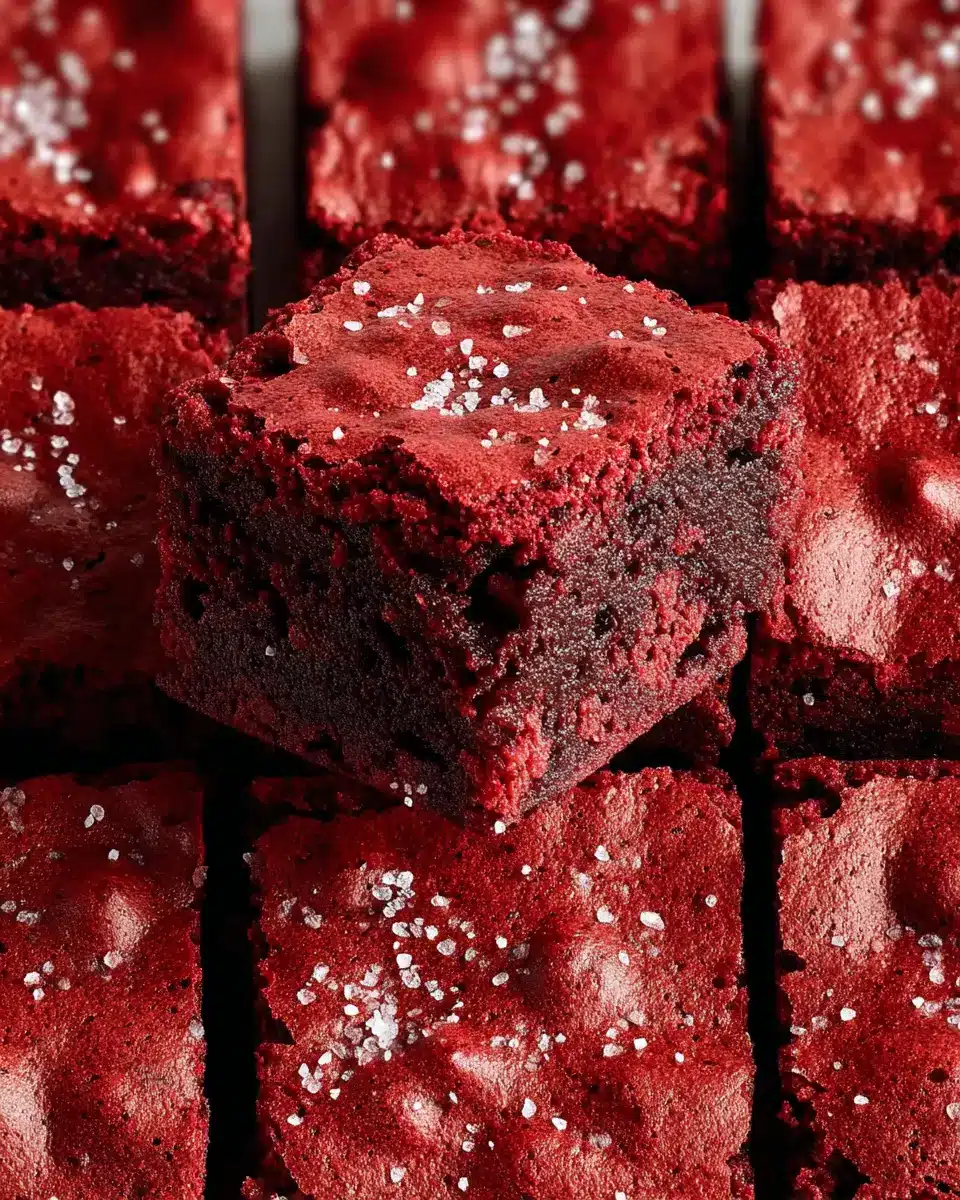
When you think of red velvet treats, classic cakes might come to mind, but have you ever tried the delightful twist of Red Velvet Brownies? These brownies are not just a visual treat with their stunning crimson hue; they are also a rich, fudgy delight. The marriage of chocolate and a hint of vanilla creates a unique flavor profile that sets them apart from traditional brownies.
What makes red velvet brownies a must-try?
First off, they’re incredibly easy to make. Even if you’re a kitchen novice, you’ll find this recipe straightforward and rewarding. Plus, they offer that wonderful decadence you crave, thanks to melted chocolate chips folded throughout the batter. Imagine biting into a warm brownie, where the sweetness harmonizes with a subtle tang from the cream cheese frosting (or you can enjoy them plain for a more classic experience).
Did you know red velvet is traditionally associated with celebration? So, whether you’re hosting a gathering or indulging on a cozy night in, these brownies bring a touch of festivity to any occasion. If you’re curious about making these brownies gluten-free, check out reliable options like Bob's Red Mill Gluten-Free Flour. Trust me, once you sink your teeth into these delightful goodies, you’ll be hooked!
Ingredients for Red Velvet Brownies
Making delicious red velvet brownies is simpler than you might think! Let’s go through the essential ingredients you'll need for this fabulous treat.
Essential Elements
-
Butter: ¾ cup of butter gives these brownies a rich, fudgy base. You can opt for dairy-free butter if you prefer.
-
Sugar: Sweeten the deal with 1 ¼ cups of granulated sugar. This will create that lovely, moist texture.
-
Eggs: You’ll need 2 eggs to help bind everything together. Make sure they are fresh for the best results!
-
Vanilla Extract: A teaspoon of vanilla extract adds a warm, aromatic flavor that balances the cocoa beautifully.
-
Flour: 1 ½ cups of gluten-free all-purpose flour is essential for achieving that perfect brownie structure, but all-purpose flour will work too!
-
Cocoa Powder & Salt: Incorporate 3 tablespoons of cocoa powder and ¼ teaspoon of salt to enhance the chocolate flavor.
-
Red Food Coloring: For that iconic red color, add 1 teaspoon of gel red food coloring. It really makes these brownies stand out!
-
Chocolate Chips: Lastly, ⅔ cups of chocolate chips create bursts of chocolatey goodness in every bite.
Now you're all set for your baking adventure! For high-quality chocolate chips, consider checking out brands like Ghirardelli or Enjoy Life. Happy baking!
Preparing Red Velvet Brownies
Making Red Velvet Brownies is an adventure in the kitchen that not only fills your home with delightful aromas but also ends with a scrumptious treat that everyone will love. Follow this step-by-step guide to whip up these rich, fudgy squares that are perfect for sharing—if you manage to keep them around long enough!
Gather Your Ingredients
Before you dive in, make sure you have all the ingredients at your fingertips. Here's what you'll need:
- ¾ cup butter (dairy-free or regular)
- 1 ¼ cup granulated sugar
- 2 eggs
- 1 teaspoon vanilla extract
- 1 ½ cups gluten-free all-purpose flour (or regular)
- 3 tablespoons cocoa powder
- ¼ teaspoon salt
- 1 teaspoon gel red food coloring
- ⅔ cups chocolate chips
Having everything measured out can make the process much smoother. As you gather your ingredients, consider using high-quality chocolate chips to really enhance the flavor of your Red Velvet Brownies.
Preheat the Oven and Prepare the Pan
Start by preheating your oven to 350 degrees Fahrenheit. This ensures that your brownies bake evenly. While the oven is warming up, grab an 8x8-inch baking pan and line it with parchment paper. This not only prevents sticking but also makes it easier to remove the brownies later.
Melt and Mix the Butter and Sugar
Next, take your butter and place it in a microwave-safe bowl. Microwave it for about 30 seconds—just enough to get it slightly melted and mostly softened. Once melted, beat the butter and sugar together for about a minute until the mixture is creamy and well-combined. This step adds a wonderful texture to your Red Velvet Brownies.
Combine the Wet Ingredients
Now it's time to incorporate the eggs and vanilla! Add the eggs and vanilla extract to your butter-sugar blend. Mix until everything is fully combined. The aroma of vanilla will start to fill your kitchen—doesn’t it make everything feel more inviting?
Mix the Dry Ingredients into the Wet Ingredients
In a separate bowl, whisk together your gluten-free flour, cocoa powder, and salt. Gradually add this dry mixture to your wet ingredients. Beat until it’s smooth and luscious. The batter should be thick and rich—exactly how brownies should be.
Add Food Coloring and Chocolate Chips
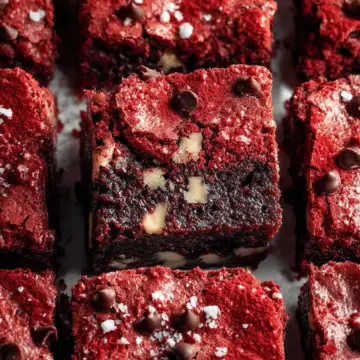
This is where the magic happens! To achieve that classic red velvet color, mix in the gel red food coloring. If you prefer a deeper hue, feel free to add a bit more. Then, fold in your chocolate chips, which will melt slightly during baking and create delightful pockets of chocolate in each bite.
Pour the Batter and Prepare for Baking
Transfer the batter into your prepared pan. Spread it out evenly, making sure to hit the corners. If you'd like, sprinkle a few more chocolate chips on top for that extra treat factor.
Bake to Perfection
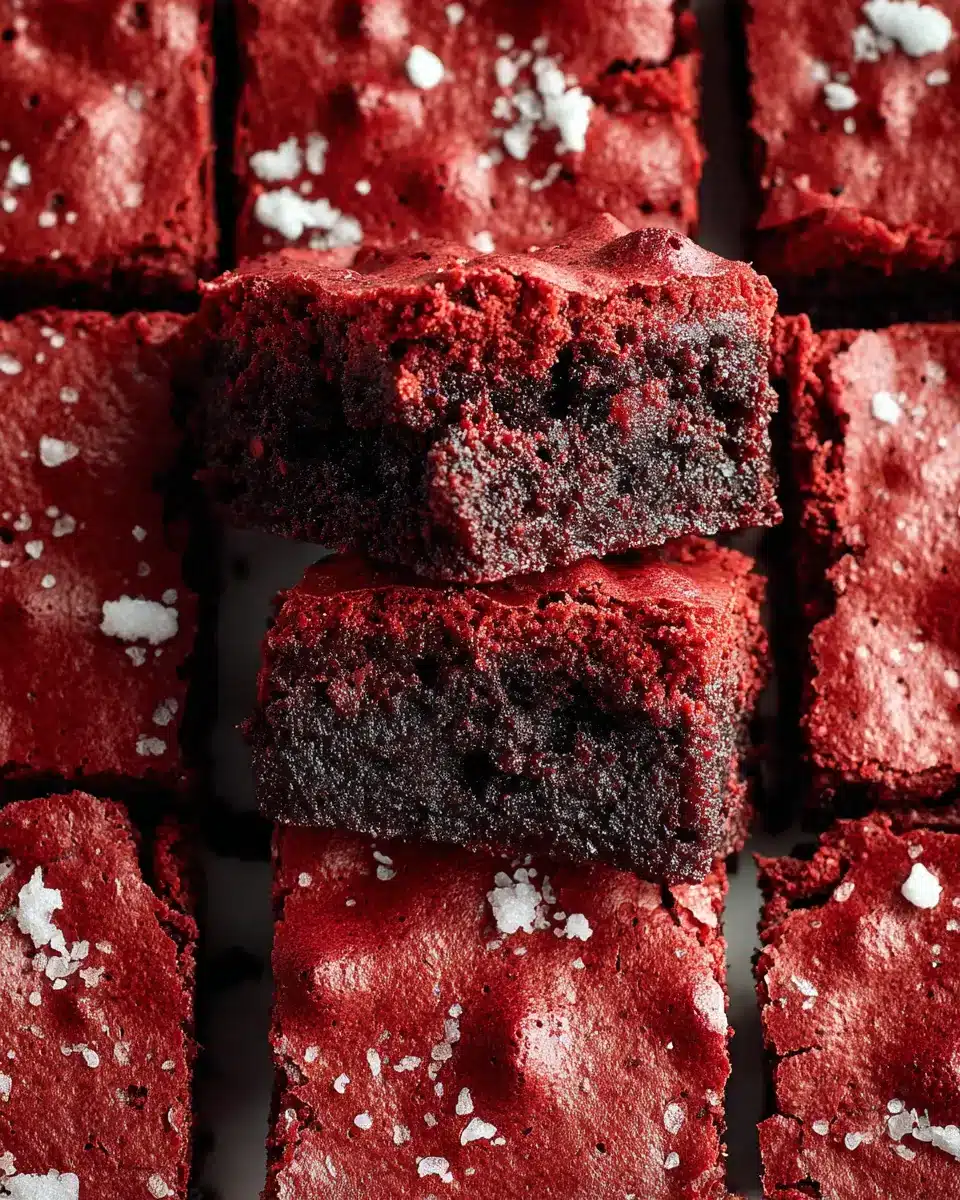
Pop your pan into the oven and bake for 30-38 minutes. It’s all about monitoring closely. For fudgier brownies, you might want to pull them out a bit earlier; a toothpick should come out with a few moist crumbs, but not wet batter.
Once done, allow your brownies to cool in the pan for about 20 minutes. Then lift them out using the parchment paper, and let them cool completely on a wire rack. Slice into 16 pieces, serve, and enjoy the delightful comments from friends and family about your culinary skills!
With these steps, you'll have the most delectable Red Velvet Brownies that are sure to impress everyone! Happy baking!
Variations on Red Velvet Brownies
Dairy-Free Red Velvet Brownies
Craving those decadent, fudgy red velvet brownies but need to skip the dairy? No problem! Simply swap out the regular butter for your favorite dairy-free alternative, like coconut or almond butter. This small change ensures that everyone can enjoy these gorgeous treats without sacrificing flavor. Plus, you can source dairy-free chocolate chips to keep the chocolatey goodness intact.
Gluten-Free Red Velvet Brownies
If you’re on a gluten-free diet, you can still indulge in these rich red velvet brownies! Just use a reliable gluten-free all-purpose flour blend—many are available at grocery stores today. Ensure it includes xanthan gum for the best texture, giving you that chewy, delicious bite that brownies are known for.
For more flour options and tips, check out King Arthur Baking.
Baking notes for Red Velvet Brownies
Tips for achieving the perfect texture
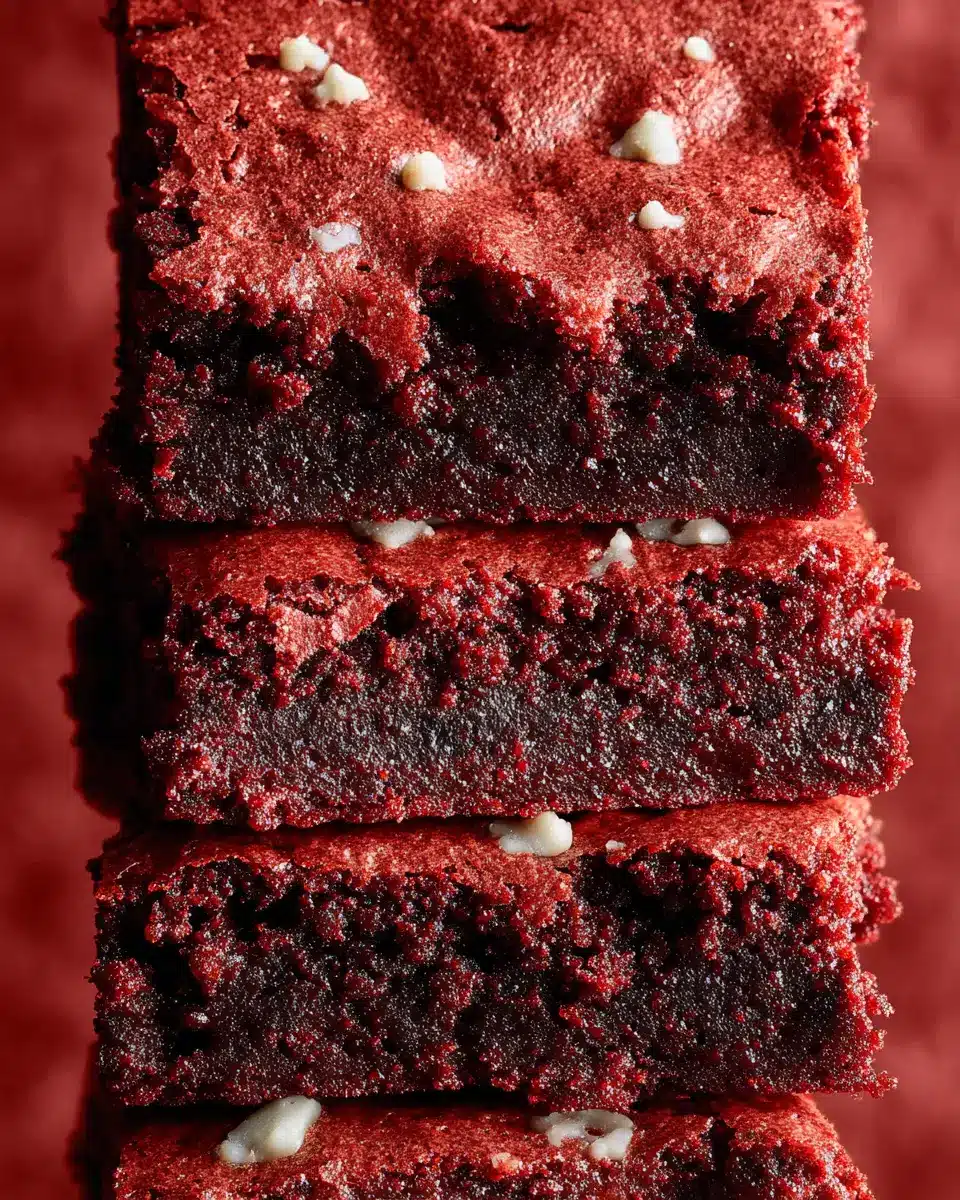
To achieve that fudgy and rich texture in your Red Velvet Brownies, be careful not to overmix the batter once you've added the flour. A few gentle folds are enough to combine it, which helps maintain that moist, dense consistency. Also, keep an eye on your baking time; for the ultimate fudginess, try checking for doneness at the 30-minute mark.
Importance of ingredient quality
The quality of your ingredients plays a pivotal role in the final outcome of your brownies. Opt for high-quality unsweetened cocoa powder and pure vanilla extract for enhanced flavor. If possible, use gluten-free flour that you trust to ensure your brownies taste their best. These seemingly small details can elevate your Red Velvet Brownies from good to gourmet!
Serving suggestions for Red Velvet Brownies
Cream cheese frosting topping
Elevate your Red Velvet Brownies by adding a luscious layer of cream cheese frosting. Simply whip together cream cheese, butter, confectioners' sugar, and a splash of vanilla until smooth and creamy. Spread it generously over the cooled brownies for a festive touch that’s both delicious and visually appealing. This sweet frosting perfectly complements the rich chocolate flavors, making every bite a decadent treat.
Serving with ice cream
For a delightful twist, serve your Red Velvet Brownies alongside a scoop of vanilla ice cream. The coldness of the ice cream contrasts beautifully with the warmth of the brownies, creating a delightful melt-in-your-mouth experience. Drizzle some chocolate or raspberry sauce on top for an extra burst of flavor! This combination is sure to impress guests or elevate a cozy night in.
Time details for Red Velvet Brownies
Preparation time
Get ready to whip up your delightful Red Velvet Brownies in just 10 minutes! Gather your ingredients and prepare your baking pan, and you'll be on your way to chocolatey goodness in no time.
Baking time
Once you pop your pan in the oven, set a timer for 30-38 minutes. Baking a little on the shorter side yields fudgier brownies—a tasty treat you won’t want to miss!
Total time
From start to finish, your Red Velvet Brownies will take about 40 minutes to make. Perfect for a quick dessert or a sweet snack to impress your friends. Enjoy the vibrant red color and rich flavor of these brownies that are sure to become a new favorite!
For more information on baking times and techniques, check out the Joy of Baking.
Nutritional Information for Red Velvet Brownies
Calories
Each decadent serving of Red Velvet Brownies contains approximately 203 calories. While they may be a sweet treat, they're a delightful indulgence that won't break the calorie bank when enjoyed in moderation.
Carbohydrates
These brownies boast around 30 grams of carbohydrates per serving. The combination of flour and sugar gives them a satisfying sweetness, making them perfect for satisfying your dessert cravings.
Protein
You can expect about 2 grams of protein in each brownie. While they aren't a protein powerhouse, pairing them with a glass of milk can enhance your snack experience and add some extra protein to your diet.
Enjoy these brownies as a delightful treat while keeping an eye on the nutritional balance in your diet! For more healthy dessert ideas, check out Eat This, Not That for inspiration.
FAQs about Red Velvet Brownies
Can I use regular flour instead of gluten-free?
Absolutely! While this recipe features gluten-free all-purpose flour, you can easily substitute it with regular flour for a delightful twist on these Red Velvet Brownies. Just keep in mind that the texture might vary slightly, but the chocolatey goodness will remain intact.
How can I store leftover brownies?
To keep your leftover Red Velvet Brownies fresh and delicious, store them in an airtight container at room temperature for up to five days. If you want to savor them even longer, freeze individual squares wrapped in plastic wrap, then place them in a freezer bag. They will stay fresh for about three months!
What can I substitute for eggs?
If you're looking to make these Red Velvet Brownies vegan or just need an egg substitute, consider using flax eggs. Simply mix 1 tablespoon of flaxseed meal with 2.5 tablespoons of water, let it sit for a few minutes until it thickens, and then add it to your brownie batter. Alternatively, applesauce or mashed bananas also work well, giving a moist texture!
Feel free to explore and enjoy your brownie-making adventure!
Conclusion on Red Velvet Brownies
Red Velvet Brownies offer a delightful twist on a classic dessert, blending deep chocolate flavor with vibrant red hues. Perfect for any occasion, these fudgy treats are easy to customize with chocolate chips or cream cheese frosting. Give this recipe a try, and indulge in the joy of baking!
For more dessert inspiration, check out Baker's Corner for seasonal recipes and ideas. Happy baking!
Red Velvet Brownies
Equipment
- 8x8 baking pan
Ingredients
- ¾ cup butter dairy free or regular
- 1 ¼ cup granulated sugar
- 2 pcs eggs
- 1 teaspoon vanilla extract
- 1 ½ cups gluten free all purpose flour can sub regular
- 3 tablespoons cocoa powder
- ¼ teaspoon salt
- 1 teaspoon gel red food coloring
- ⅔ cup chocolate chips
Instructions
- Preheat the oven to 350 degrees Fahrenheit.
- Line an 8x8 baking pan with parchment paper and set aside.
- Microwave the butter for 30 seconds until slightly melted and mostly softened.
- Beat the butter and the sugar for 1 minute.
- Beat in the eggs and vanilla until well combined.
- Add in the flour, cocoa, and salt. Beat until smooth.
- Beat in the food coloring, adding more if you prefer a deeper red color.
- Fold in the chocolate chips.
- Transfer to your prepared pan and spread smooth. Top with additional chocolate chips if desired.
- Bake for 30-38 minutes or until a toothpick comes out clean.
- Remove from the oven and let cool in the pan for about 20 minutes.
- Lift out of the pan and let cool on a wire rack.
- Slice into 16 squares and enjoy!
Leave a Reply